
Masoor dal, which uses pink lentils as its main ingredient, serves as one of the simplest and most satisfying Indian dishes. The dish provides instant preparation while delivering complete nutritional benefits. Masoor dal becomes the preferred weekday meal during times when people have limited cooking time because it requires shorter cooking times than other lentil varieties
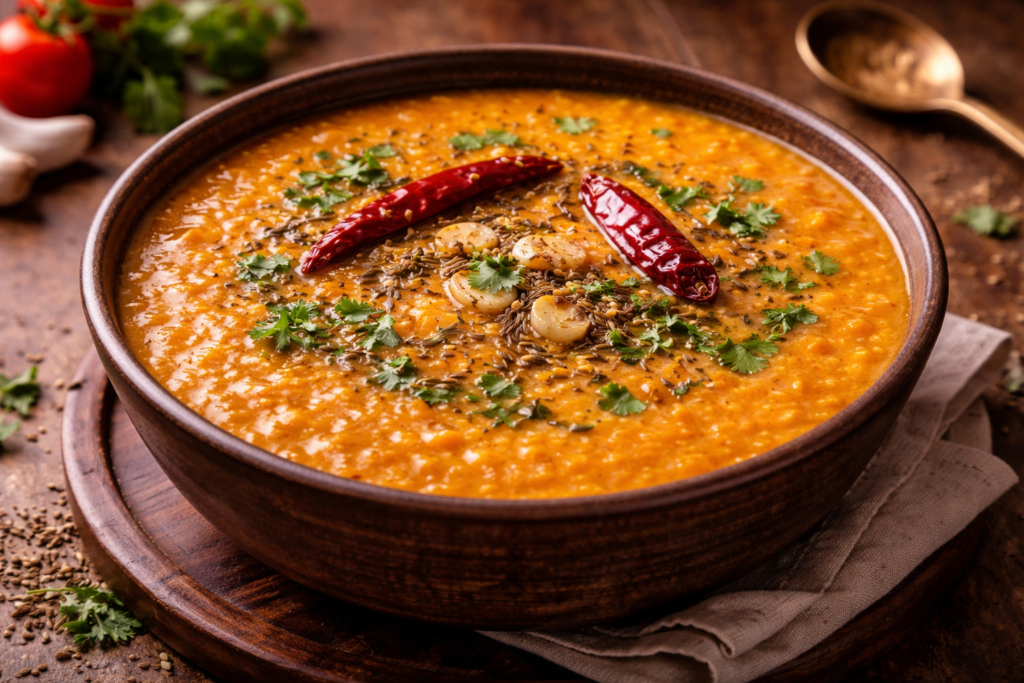
This humble dal is, specifically, best for beginners. The recipe needs basic materials which anybody can use to create daily results. The cooking process transforms masoor dal into a soft, creamy texture, which displays a warm orange-yellow colour while hiding the mild scents of cumin and garlic
Ingredients

For Cooking the Dal:
- 1 cup toor dal (arhar dal)
- ¼ tsp turmeric powder
- Salt to taste
- 3 cups water
For the Tempering (Tadka):
- Optional: 1 tsp butter for extra richness,
- 2 tbsp ghee (or oil)
- 1 tsp cumin seeds
- 1 medium onion (finely chopped)
- 1 tsp ginger-garlic paste
- 1 green chilli (finely chopped)
- 2 medium tomatoes (finely chopped or pureed)
- ½ tsp red chilli powder
- 1 tsp coriander powder
- ½ tsp garam masala
- ½ tsp kasuri methi (optional but recommended)
- Fresh coriander leaves (chopped)
Step-by-Step Preparation
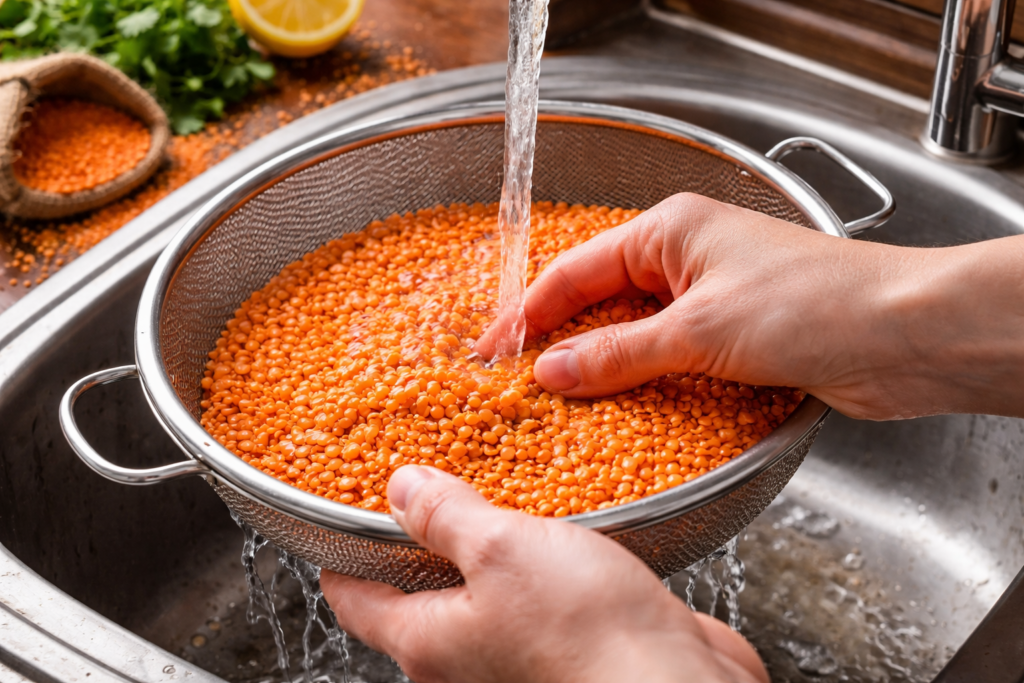
Step 1: Washing the Dal
The masoor dal should be put into a bowl and washed using running water for two to three times. The arm should be rubbed with the product to remove all dust particles from the skin
The cooking process for masoor dal requires no extended soaking period, which distinguishes it from other lentil varieties. The process of soaking for 15 to 20 minutes will reduce the cooking duration for the meal
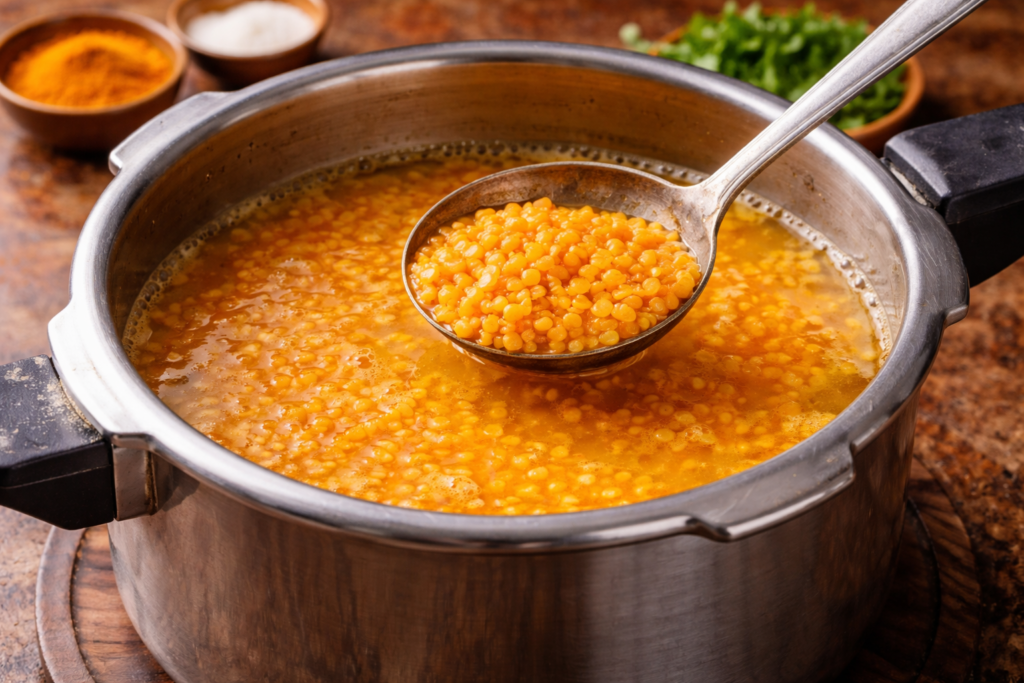
Step 2: Cooking the Dal
Pressure Cooker Method
The pressure cooker requires you to add washed dal with water, turmeric and salt. You need to cook dinner for two to three whistles at a low temperature. Let the pressure launch clearly before opening the lid.
Stovetop Method
In a deep pot, mix dal, water, turmeric, and salt. Carry it to a boil, then lower the heat and simmer for 20–25 mins. Stir once in a while and take away any foam that levels up to the surface
The dal is cooked whilst the lentils are completely gentle and mash without difficulty with the return of a spoon
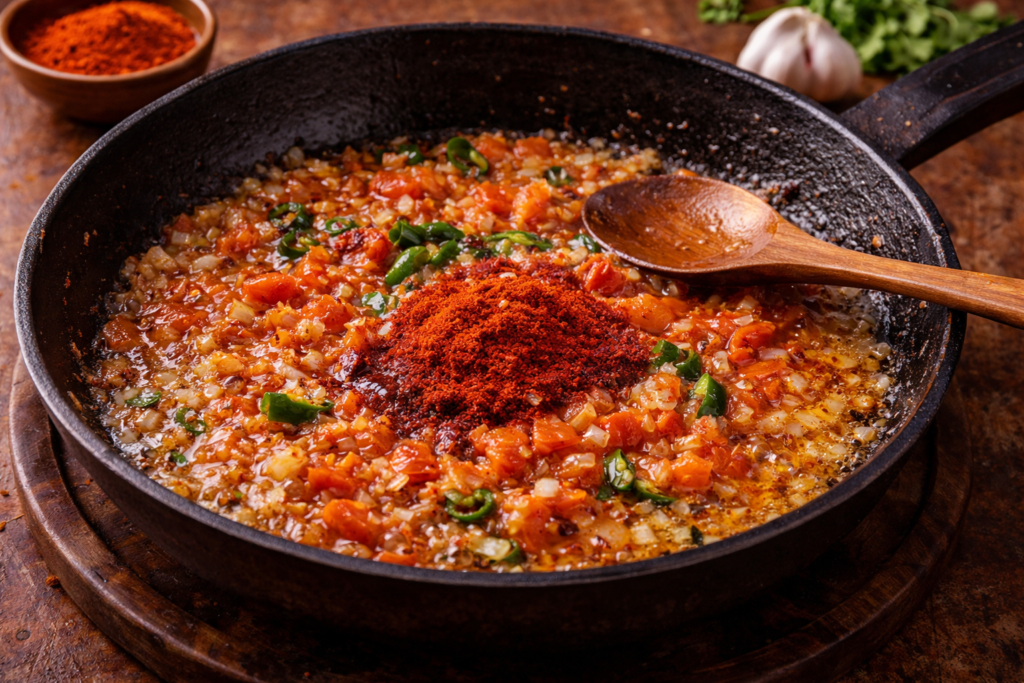
Step 3: Prepare the Tempering
You should warm vegetable oil or ghee in a pan on a low heat. Next, add cumin seeds to the pan, which will produce a crackling sound. The process produces an aroma that provides a calming effect. You should add chopped garlic to the pan and cook it until it reaches a golden colour
First, add onions to the pot and cook them until they become soft and transparent. Secondly, it needs to avoid letting the food reach excessive brown colour
Add chopped tomatoes and green chillies to the cooking pot
Make sure to prepare the dish until the tomatoes become completely mushy and the oil starts to separate from the mixture. The kitchen staff should begin adding red chilli powder during this particular cooking stage
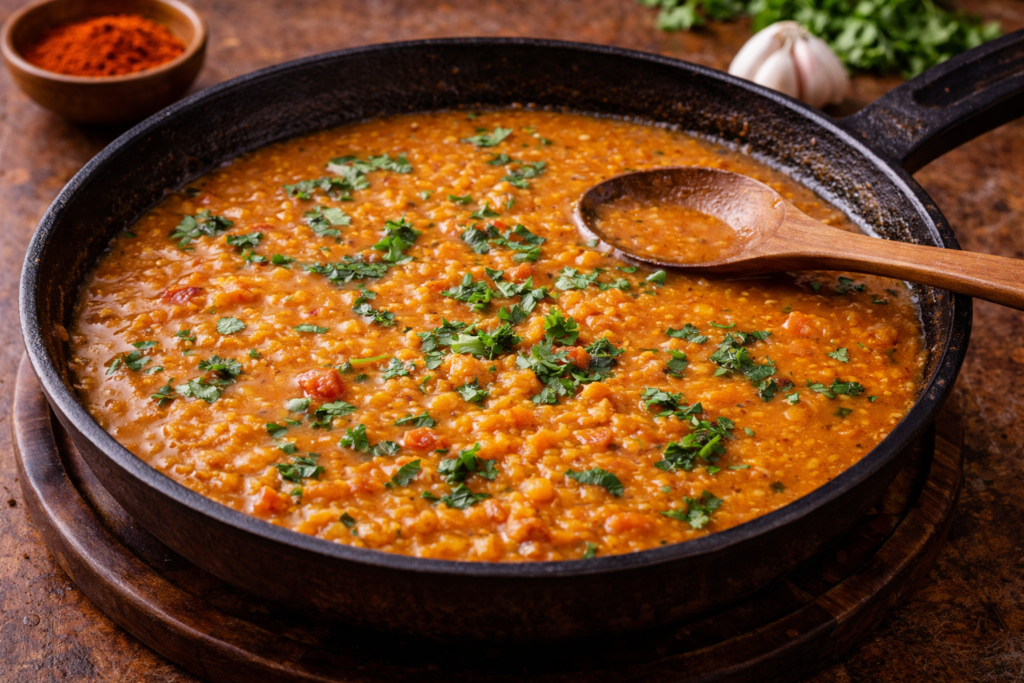
Step 4: Combining Everything
The cooked dal should be added to the tempering mixture. Stir the ingredients together until they are fully combined. The dal requires warm water until its thickness reaches the desired consistency
The dal needs to cook on low heat for a duration of 5 to 7 minutes
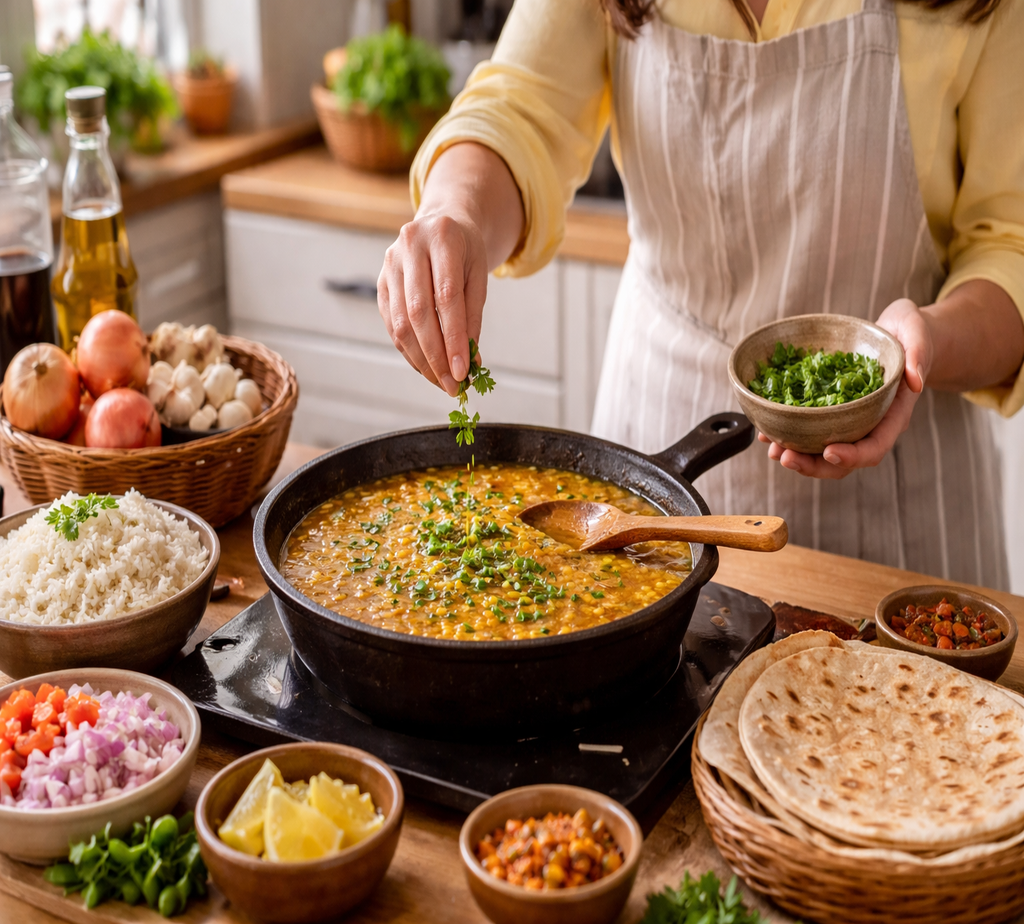
This step lets the food develop its full taste through proper cooking time. Cooks should apply fresh coriander leaves as a finishing touch before they present the dish to diners
Cooking Tips & Common Mistakes
You should add hot water to the dal until it reaches your desired thickness while stirring the pot continuously
The cooking process requires you to keep the dish at a simmering point after you have added the tempering ingredients
The tempering process requires you to handle garlic with care because overcooking it will result in a sour flavour
The most effective method to adjust salt requires you to wait until the final simmering stage. The dish needs a squeeze of lemon at the end to bring out its bright flavour
Variations
Tomato-Free Version
Skip tomatoes and add a pinch of dry mango powder (amchur) for mild tanginess
Garlic-Free Version
Omit garlic and use hing (asafoetida) with cumin for flavour
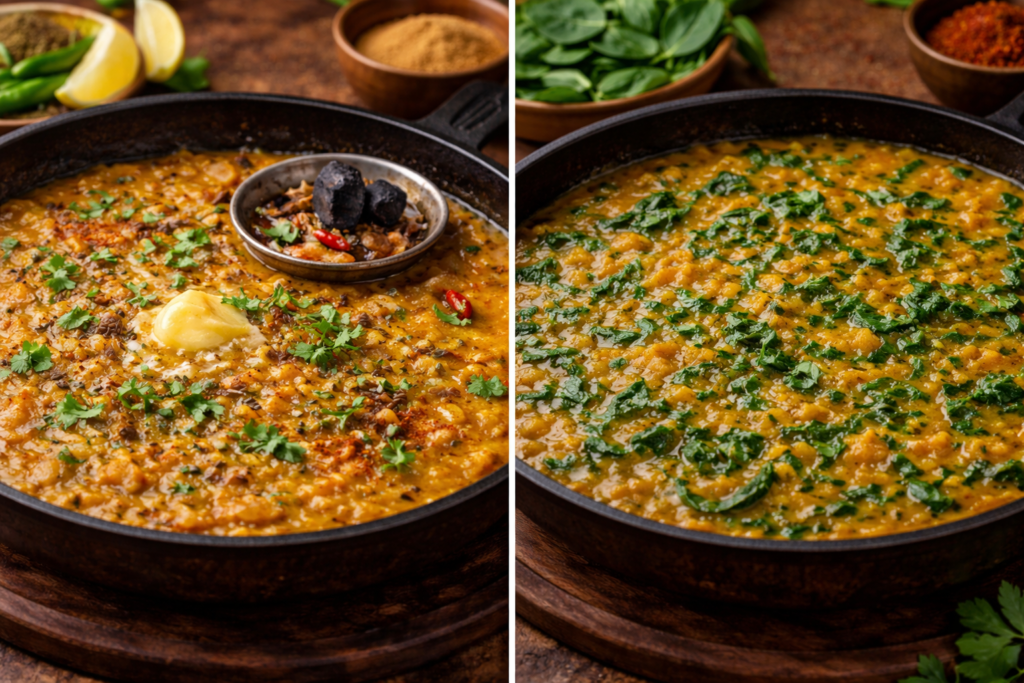
Dhaba-Style Masoor Dal
Add a spoon of butter at the end and finish with a smoky charcoal tempering
With Greens
Add chopped spinach or methi leaves while the dal is simmering for extra nutrition
Serving Suggestions
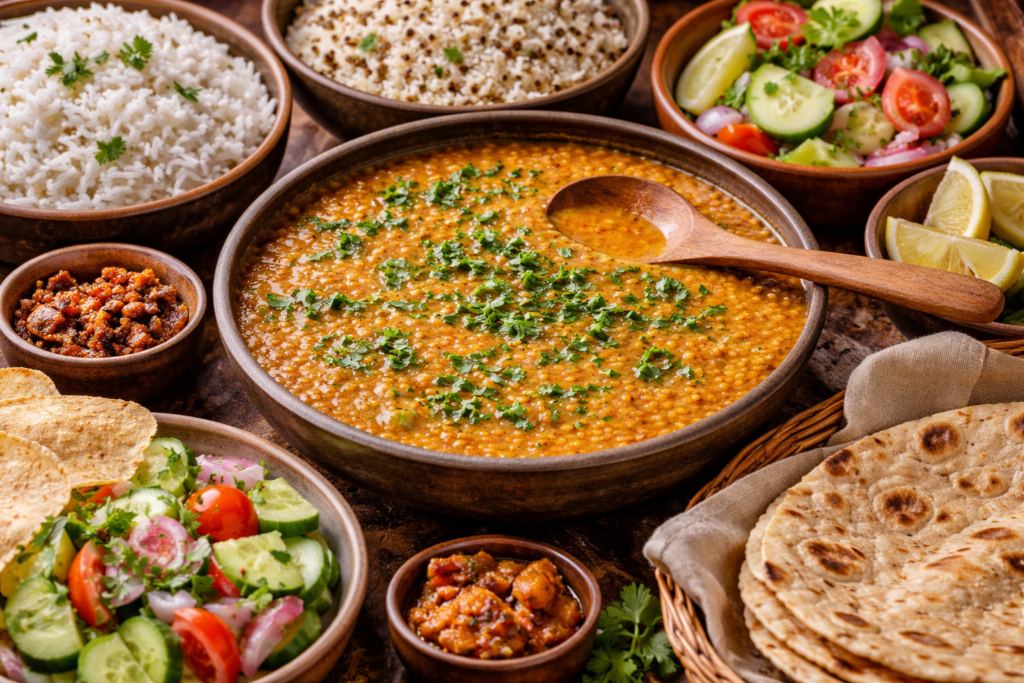
Masoor dal pairs beautifully with:
- Steamed plain rice
- Jeera rice
- Chapati or phulka
- A side of cucumber salad
- Papad and pickle
Its light texture makes it suitable for both lunch and dinner.
Nutritional Benefits
Masoor dal is rich in plant-based protein and dietary fibre. It helps digestion and gives consistent strength. Being lighter than many different dals, it is easy on the stomach and suitable for normal food
Storage & Reheating
Save leftover dal in an airtight box inside the fridge for up to 3 days. Reheat at the stovetop with a splash of water to restore consistency. It may additionally be frozen for up to 1 month.
Masoor dal proves that simple elements can make deeply enjoyable meals. By following some steps and primary spices, you could put together a healthy dish that feels both comforting and nourishing.
F & Q
Q. Is it necessary to soak masoor dal?
Soaking is elective. A brief soak saves cooking time; however, it is not mandatory.
Q. Can it be prepared without a pressure cooker?
Sure. It can be cooked on the stovetop in 20–25 minutes.
Q. Why does my dal taste bland?
It may want greater salt or right simmering after tempering. Allowing it to cook dinner together complements the flavour.
Q. How can it be made thicker?
You can do it by mashing a portion of the dal with a spoon and simmering it uncovered.
Q. Can it be frozen masoor dal?
Yes. Freeze in some amounts and thaw before reheating.
Q. Is masoor dal healthy for each day consumption?
Sure. It’s far nutritious, smooth to digest, and suitable for ordinary food.
Anjali Raj Singh
I am a food writer and culinary content creator specializing in global cuisines, traditional recipes, food culture, and cooking techniques. Through extensive research and hands-on recipe analysis, I create accurate, informative, and engaging content that helps readers explore authentic dishes from around the world. My work covers recipe development, food history, ingredient guides, restaurant features, and culture-driven culinary stories.
At Foods Around the World, I focus on delivering well-researched, reader-friendly, and SEO-optimized content that reflects the traditions, flavors, and culinary heritage behind each dish. Every article is carefully reviewed for accuracy and relevance, ensuring readers can discover trusted recipes, cooking insights, and food experiences from diverse cultures worldwide.