


Some foods wrap you up like a hug — warm, familiar, and impossible to stop at just one. That’s exactly what Pão de Queijo is. In Brazil, these golden, cheesy puffs are more than just bread. They’re memories baked into bite-sized balls — the kind of snack that turns ordinary afternoons into cosy moments and brings people to the kitchen the second the oven door opens.
A Little Background
The story of Pão de Queijo goes way back — we’re talking 18th century, when slaves in Minas Gerais used cassava flour (a native root, also called tapioca) instead of wheat, which was scarce at the time. Over the years, milk and cheese were added, and what started as a humble necessity turned into one of Brazil’s most iconic comfort foods
They appear everywhere in Brazil, in the roadside cafes and even in expensive bakeries. But honestly? The good ones are those made at home. There is a version for every family. The others apply more cheese, others small, some big and floating. However, they all store traces of the same soul: crispy on the outside, chewy on the inside, and most importantly, that cheese pull
Ingredients
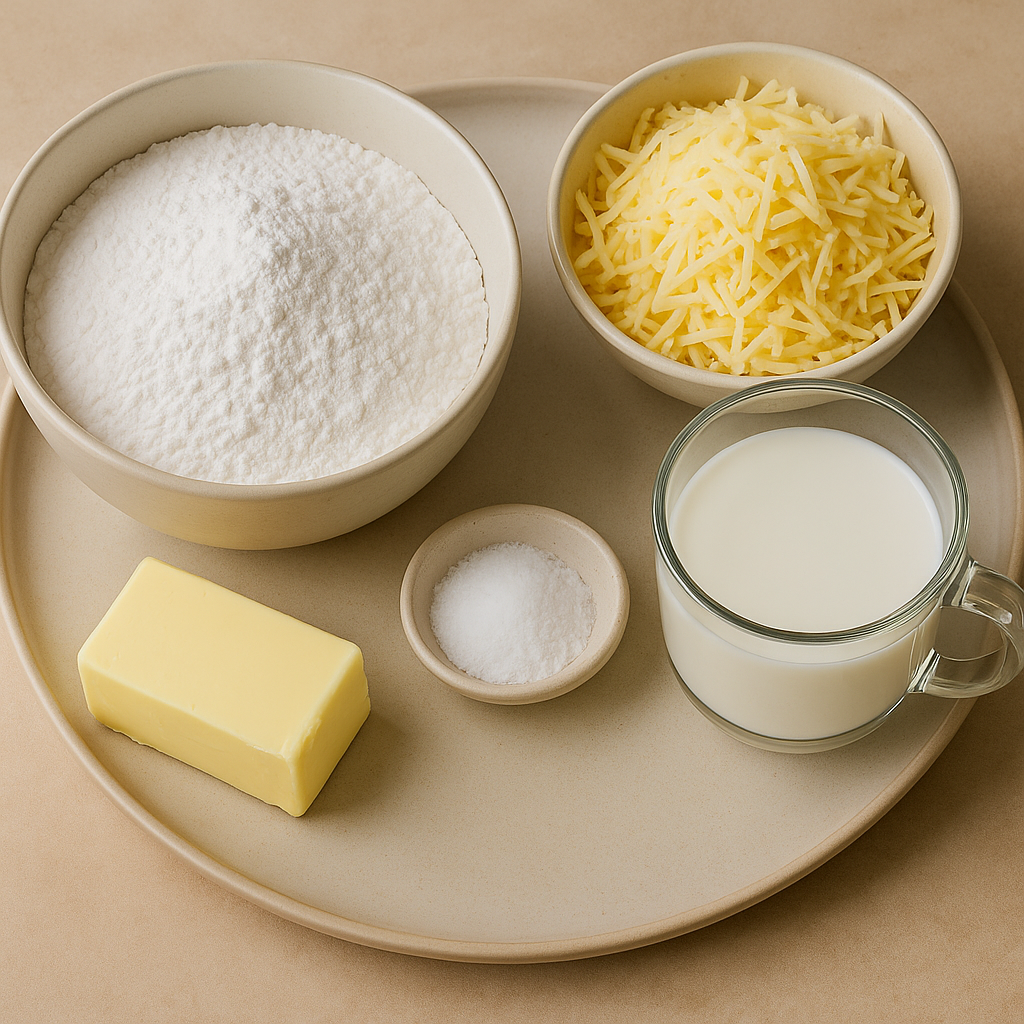
- 2 cups tapioca flour (also known as cassava starch; in Latin or Asian groceries)
OPTIONAL: Use Arrowroot powder, in a pinch but nothing compares to real tapioca!
- 1 cup milk (whole milk is best)
- 1/4 cup butter
Substitute: Neutral oil or ghee
- 1 teaspoon salt
- 1- 1/2 cups grated cheese
- Traditionally: Mina’s cheese
Tip
It has got to be the cheese. It is not wise to fear using what you love provided that it is strong and salty
When to Make
Pão de Queijo is the kind of thing you can make just because. But in Brazil, it’s often served:
- At breakfast, alongside coffee
- For afternoon snack time (called “café da tarde”)
Instructions
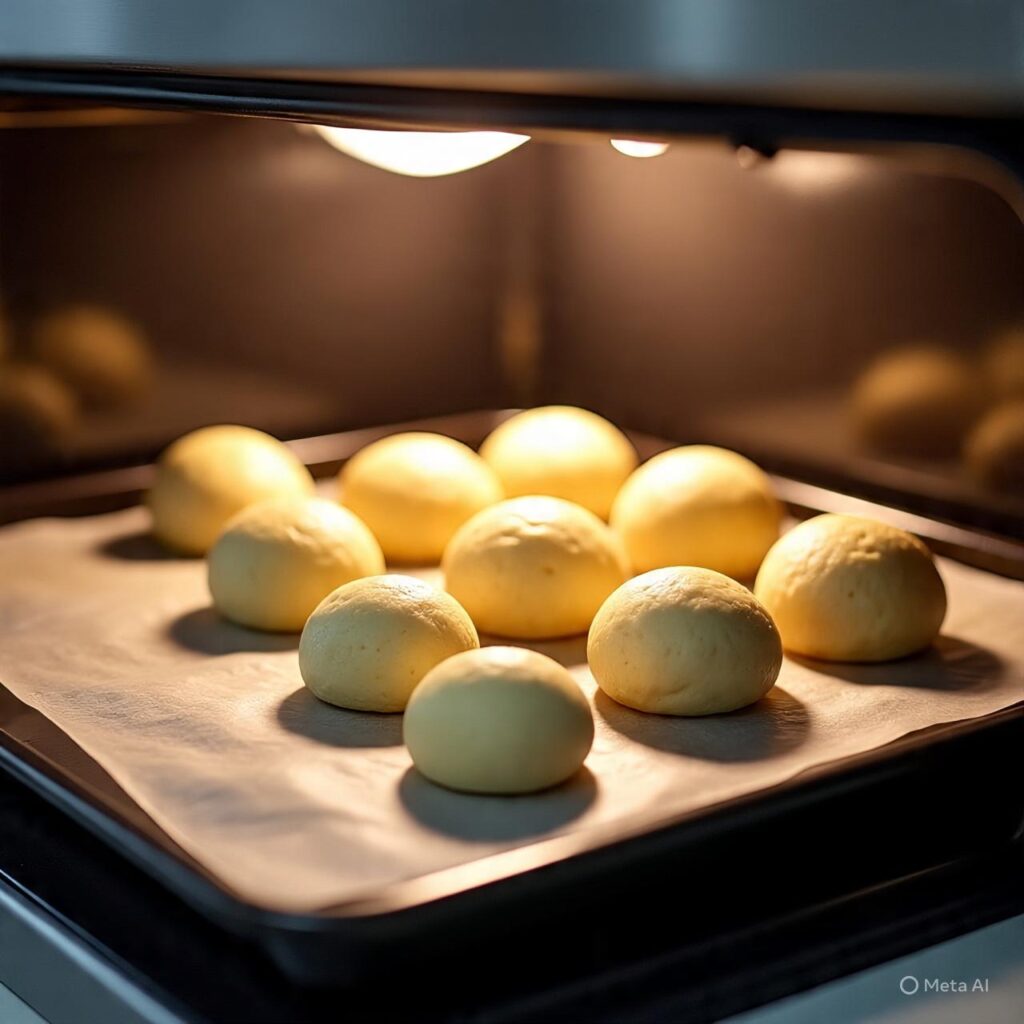
Step 1: Heat to 375degrees F (190 degrees C). Prepare any baking tray with a piece of parchment paper
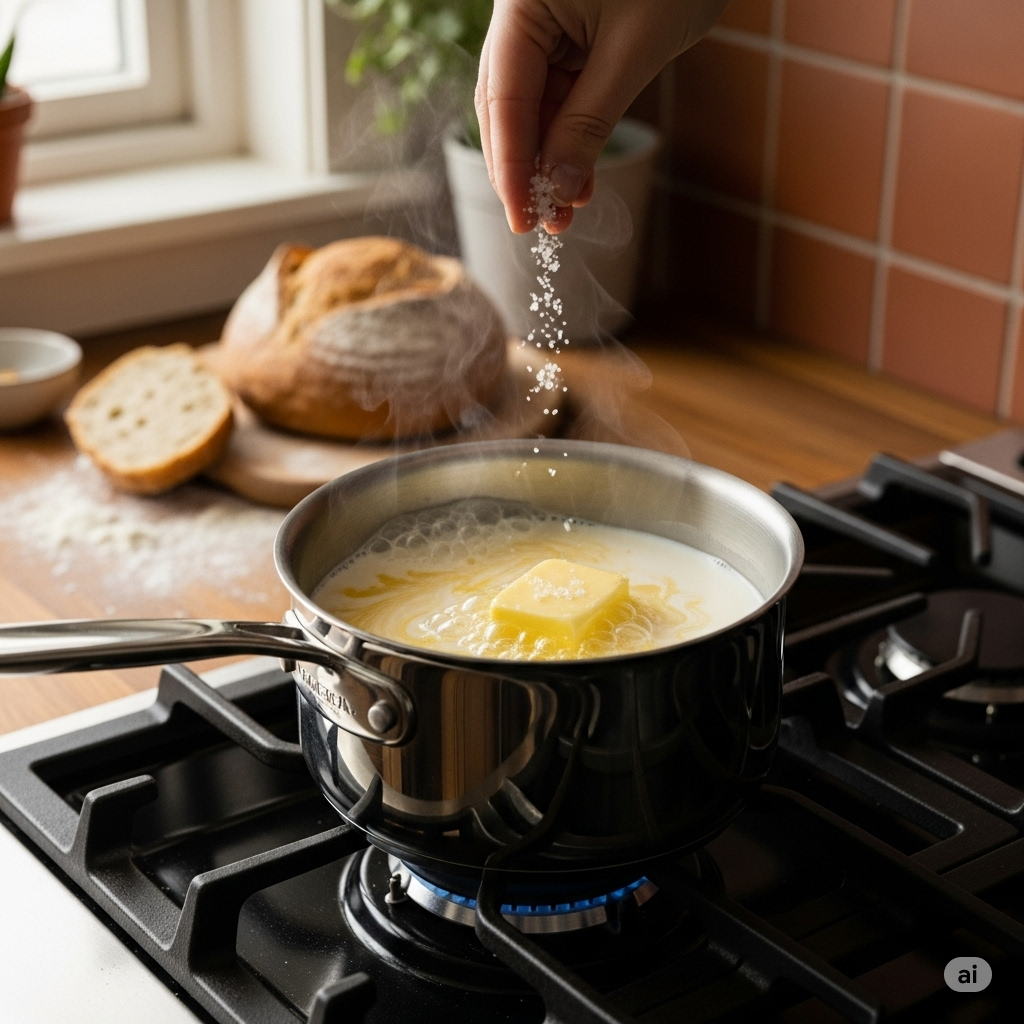
Step 2 : Heat the milk, butter, and salt in a small saucepan over the medium until it was nearly boiling. Then remove from the heat
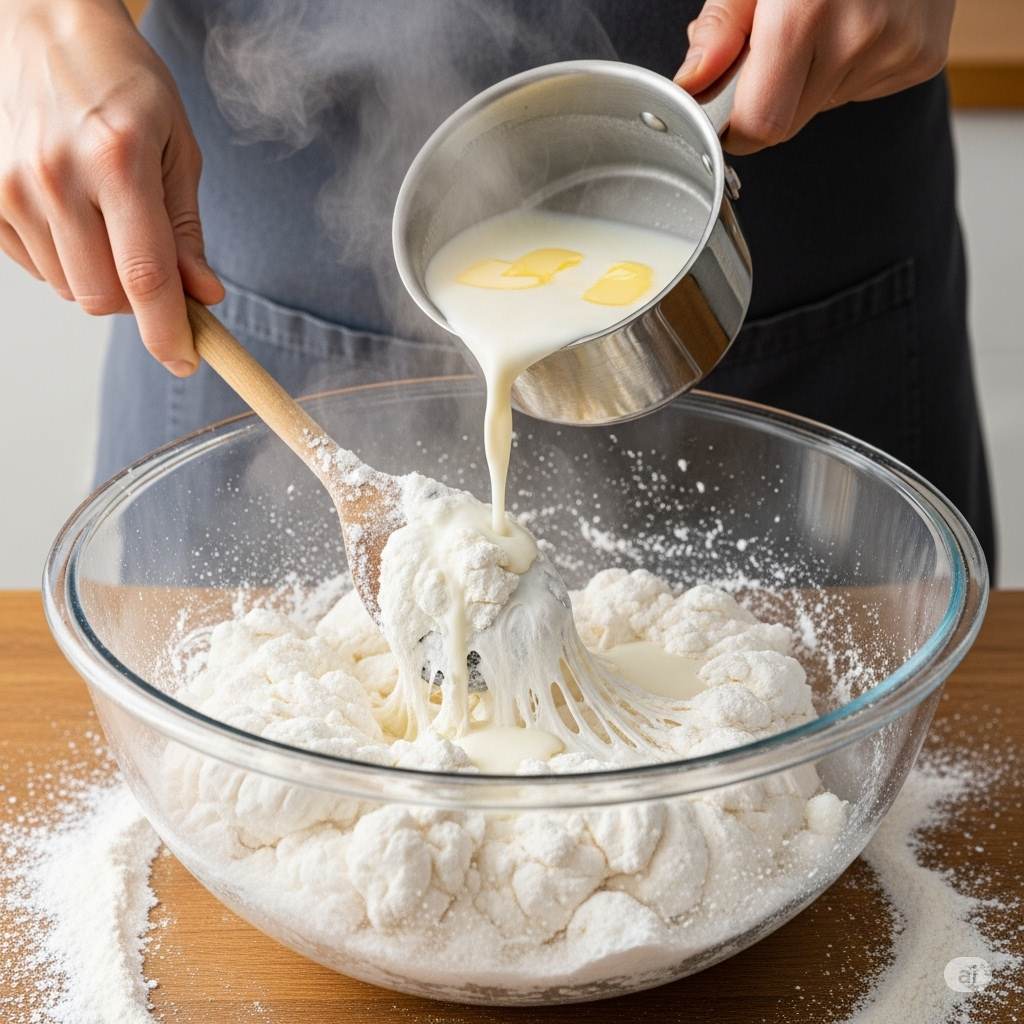
Step 3 : Place the tapioca flour in a large bowl. Pour the hot milk mixture over it while stirring constantly. It’ll look sticky and weird — but don’t worry that’s normal!
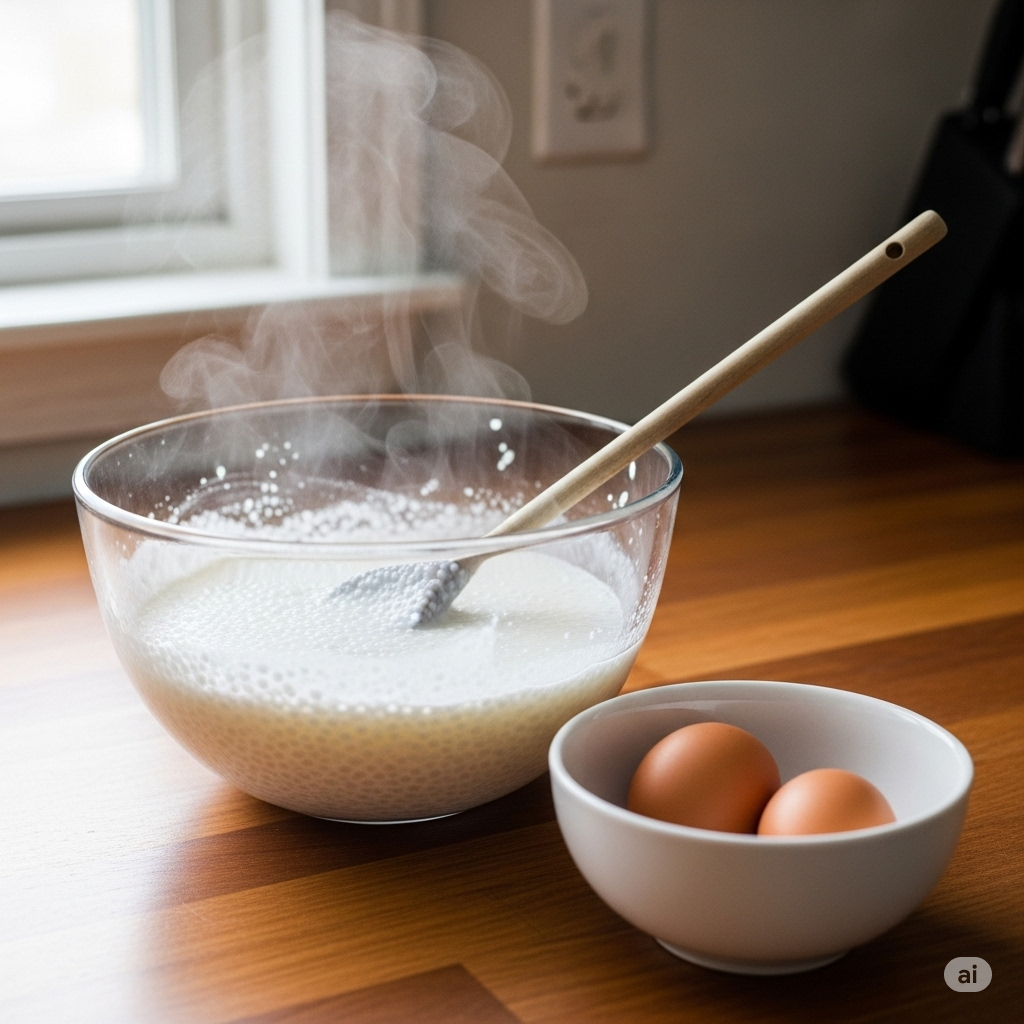
Step 4: Wait a few minutes so it’s not scorching hot (you’re about to add eggs, and we don’t want them to scramble)
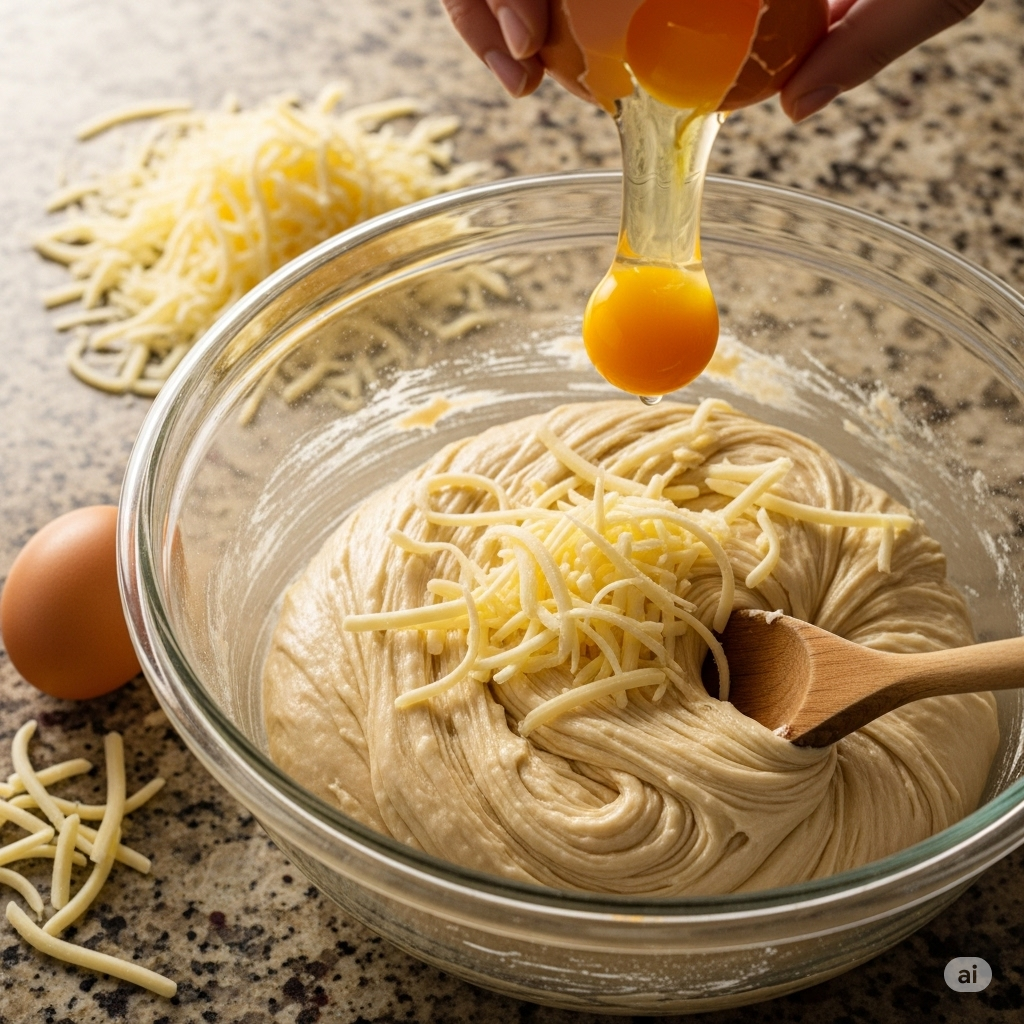
Step 5: Add one egg at a time then mix it well. Next add the grated cheese. The dough will become stretchy and a little bit wet like playdough that is sticky
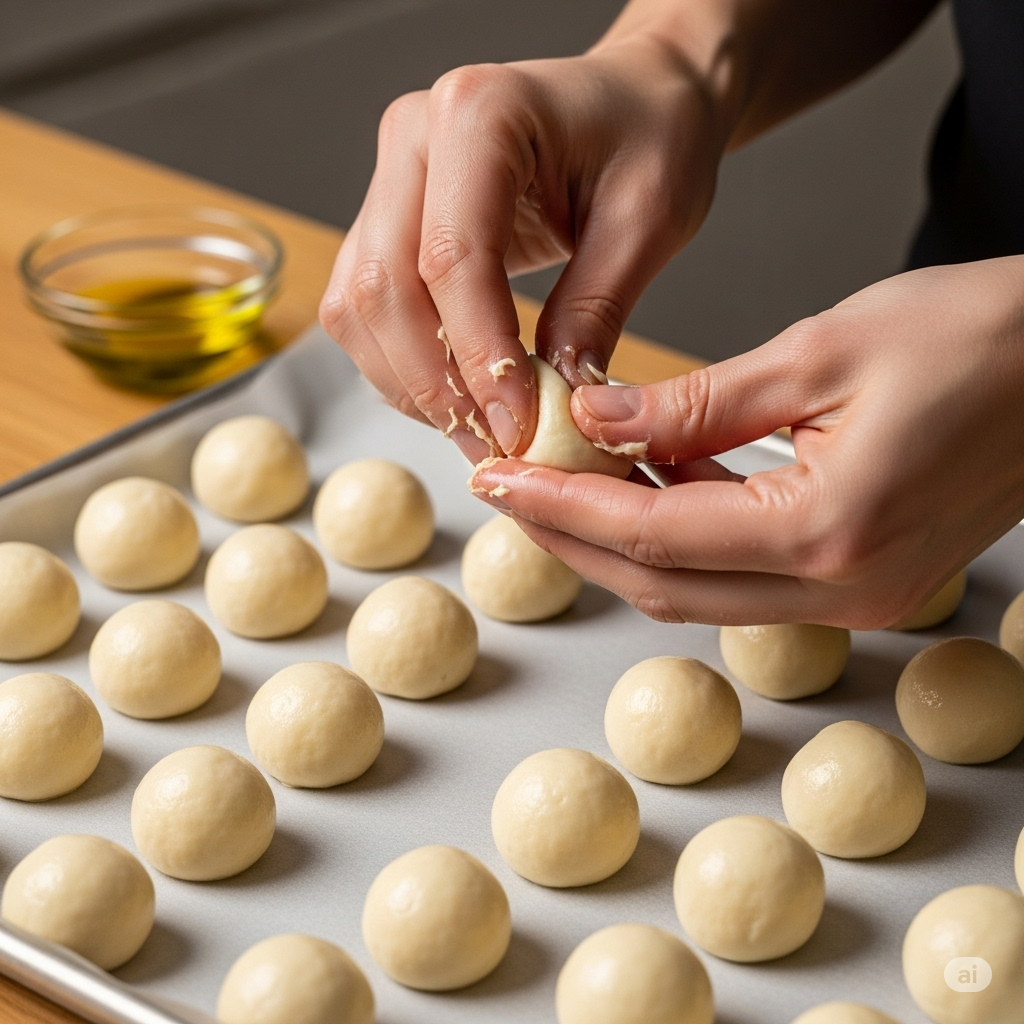
Step 6: Do this with lightly oiled hands by making little balls (golf ball size is good). Arrange them on the tray leaving a gap between them
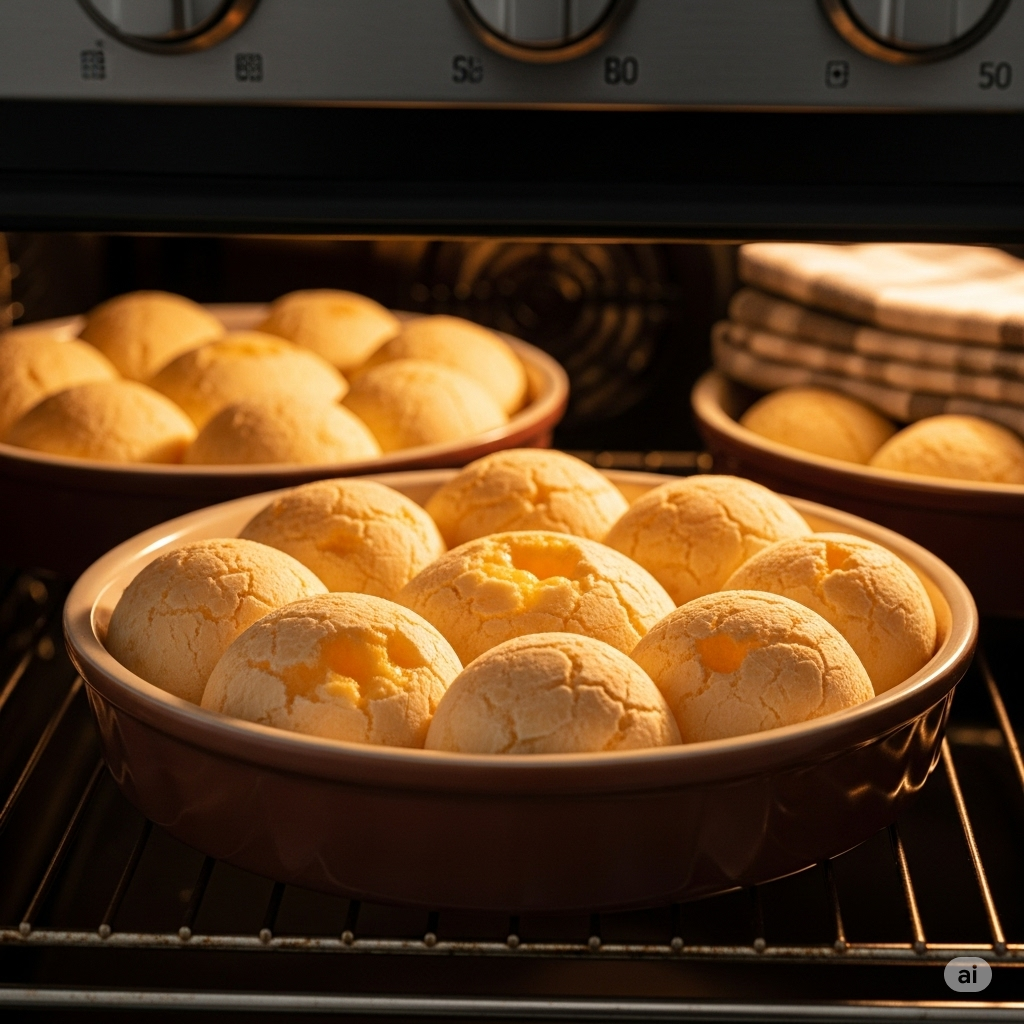
Step 7: Pour into medium-size baking dishes and bake at 20-25 minutes till they puff up and become a very light golden on top
Serving Tips
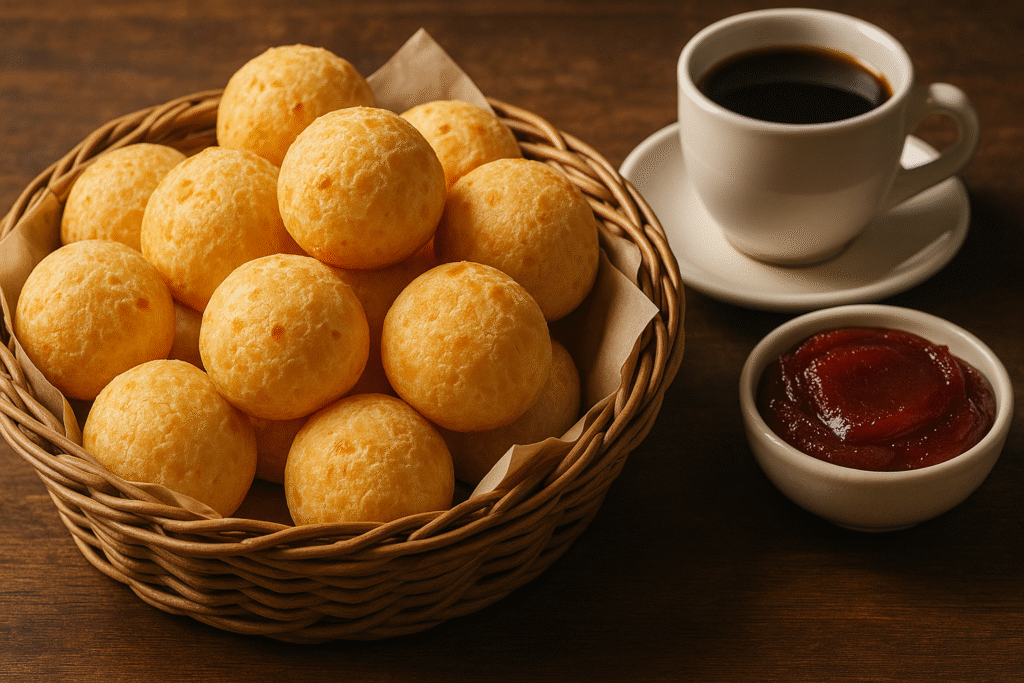
- Ideal when served with a strong cup of Brazilian coffee or soul warming hot chocolate
- Donkey sauce or the combination of guava paste or cream cheese and a sweet-salty dish
- Hosting friends? These are extremely brilliant as party starters you don’t need to think about other starters — they vanish fast
Precautions
- Do not avoid tapioca flour coz it makes the bread have classic chewy texture
- In case you notice that the dough is too liquid, use additional tapioca flour but a small amount at a time
- Freshly grate cheese- pre-grated varieties can include anti-caking agents that interfere with the consistency
- In case of freezing, roll out the balls and freeze them uncooked. Directly frozen baking, leave another 5 minutes
More About Pao de Queijo
Pão de Queijo isn’t just a snack — it’s a little bite of Brazilian love. You don’t need to grow up in Minas Gerais to feel its warmth and vibe. Just make a batch, tear one open while it’s still steaming, and let that stretchy cheese tell you you’re home — wherever you are.
Anjali Raj Singh
I am a food writer and culinary content creator specializing in global cuisines, traditional recipes, food culture, and cooking techniques. Through extensive research and hands-on recipe analysis, I create accurate, informative, and engaging content that helps readers explore authentic dishes from around the world. My work covers recipe development, food history, ingredient guides, restaurant features, and culture-driven culinary stories.
At Foods Around the World, I focus on delivering well-researched, reader-friendly, and SEO-optimized content that reflects the traditions, flavors, and culinary heritage behind each dish. Every article is carefully reviewed for accuracy and relevance, ensuring readers can discover trusted recipes, cooking insights, and food experiences from diverse cultures worldwide.