
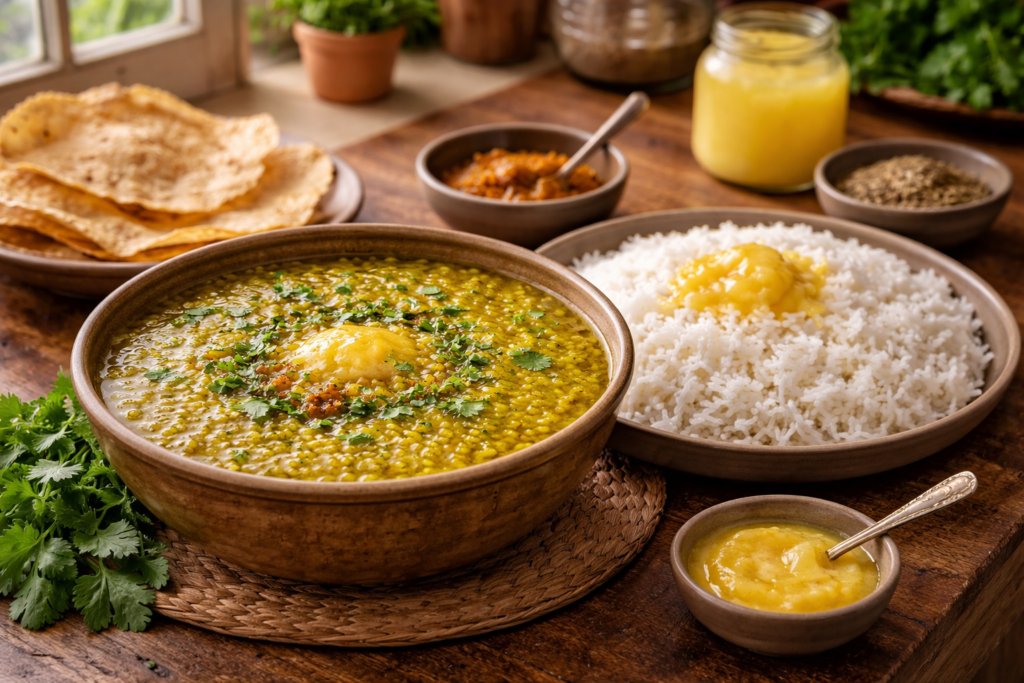
The yellow moong dal brings a sense of familiarity, which makes me feel at home. The first real meal we remember eating consists of soft rice with warm dal and ghee, which melts on top and crispy papad as an extra side dish
The dal presents a straightforward design that delivers a soft experience, which provides people with deep comfort through its design. The Indian kitchen presents yellow moong dal as the default meal option, which people choose during sickness, when children require light yet healthy food and for effortless dinner solutions. The moong daal achieves its goals through an understated approach
The yellow moong dal achieves its objectives through simpler flavours that people can understand better. The moong daal achieves its goals through an understated approach. The traditional preparation method begins with a step-by-step process which demonstrates authentic Indian kitchen practices used in daily cooking
Why Yellow Moong Dal Is So Special
Yellow moong dal holds a special place in Indian cooking for a few reasons:
- Easy to digest: It’s light on the stomach and ideal during illness
- Rich in protein: A great vegetarian protein source
- Quick to cook: No long soaking required
- Versatile: Used in dal-rice, khichdi, and even soups
- Gentle flavour: Mild and comforting without overpowering spices
It’s the kind of dish that doesn’t demand attention — but once it’s on your plate, it quietly wins your heart.
Ingredients
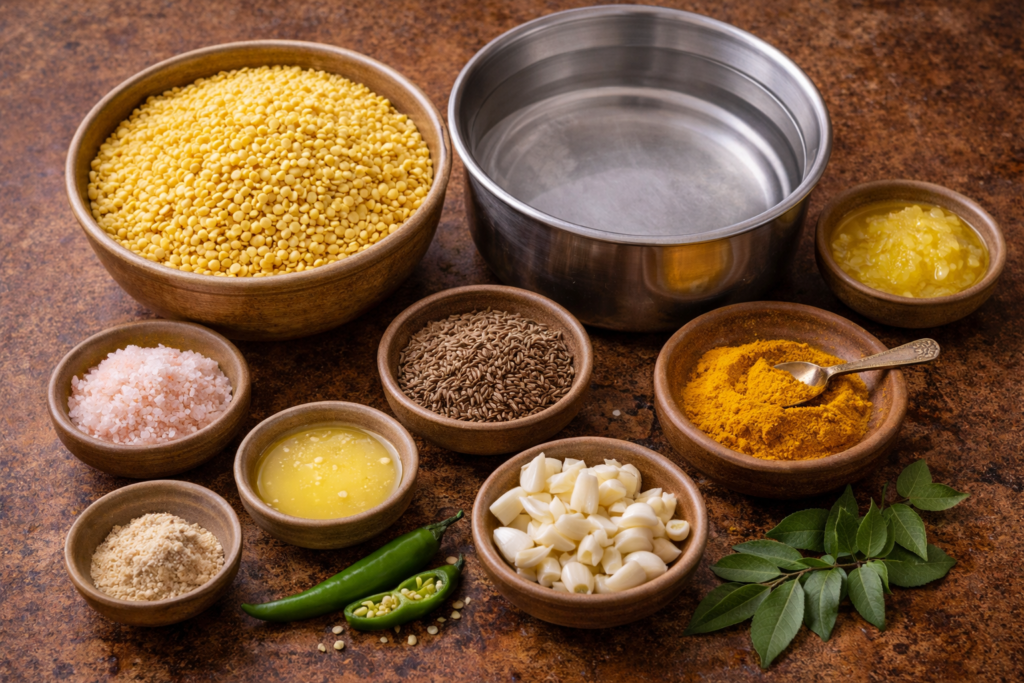
Here’s what goes into a classic yellow moong dal:
- 1 cup yellow moong dal – The star of the dish, split and skinned lentils
- 3 cups water – For pressure cooking (adjust later if needed)
- ½ tsp turmeric powder – Adds colour and warmth
- Salt to taste – Always adjust at the end
- 1–2 tbsp ghee – For that rich, authentic flavour
- 1 tsp cumin seeds – For an earthy aroma in the tadka
- 3–4 garlic cloves (chopped) – Adds depth and warmth
Optional (but lovely additions):
- A pinch of hing (asafoetida)
- 1 chopped green chilli
A few curry leaves
Steps for Cooking

Step 1: Wash and Prepare the Dal
You should place the moong dal into a bowl before you start washing it with running water. You should use your fingers to move the water through the bowl. The process should continue until the water reaches a state which shows 98 per cent of its clarity. You can cook moong dal without soaking, but 15 to 20 minutes of soaking time will make the dal cook more tender

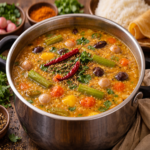
Step 2: Pressure Cook the Dal
Transfer the washed dal to a pressure cooker. Add:
- 3 cups water
- Turmeric
Close the lid and cook for:
- 2–3 whistles on medium heat
The lid should be opened after the pressure has completed its natural release process. The dal should become soft enough to be mashed with a spoon through pressing. If the mixture appears excessively thick, you should add a small amount of hot water and then proceed to stir

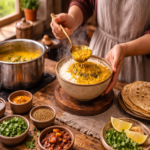
Step 3: Prepare the Tadka (Tempering)
This is where the magic happens.
Heat the ghee in a small pan on medium heat. Once warm:
- Add cumin seeds: Let them splutter — you’ll hear the gentle crackling.
- Add chopped garlic: Sauté until lightly golden and fragrant
If using, add hing, green chilli, or curry leaves. The aroma at this stage is unmistakable — nutty, warm, and inviting

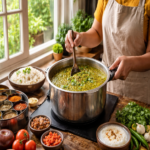
Step 4: Combine and Simmer
When the dal has been prepared well, the hot tadka can be poured straight into it for that lovely sizzle sound when it comes into contact with the pliant lentils
Now:
- Add salt
- Stir gently
- Let it simmer on low heat for 3–5 minutes
The last simmering process brings all the flavours together. People who want to make changes to the mixture’s thickness can do so by adding water because some people want a thick texture, while others want a mild liquid texture
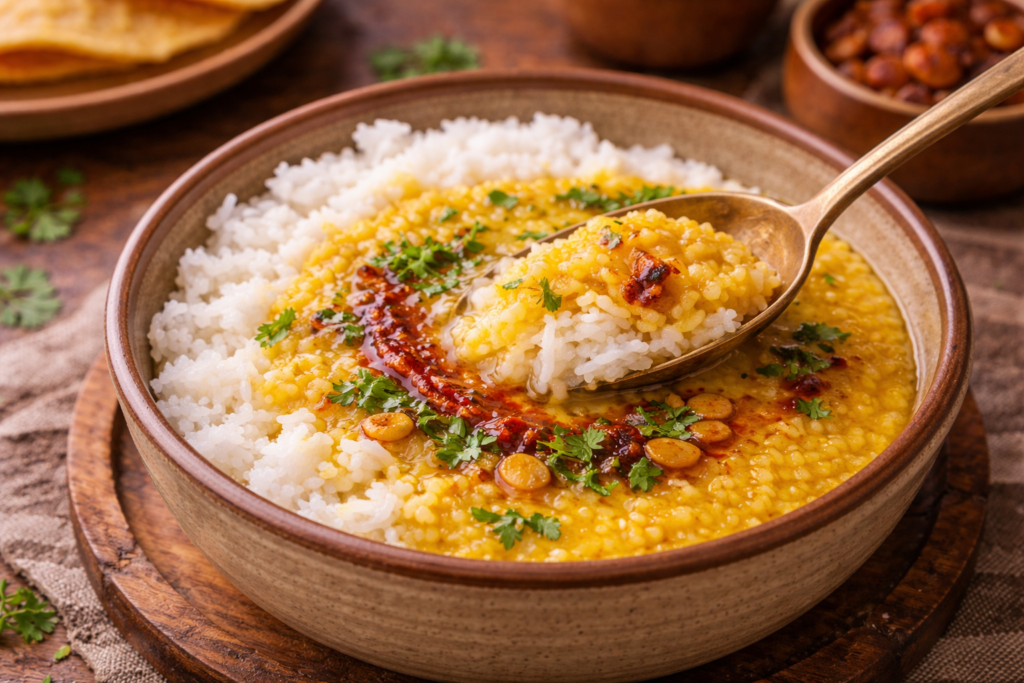
Serving Suggestion

Yellow moong dal shines brightest when served simply:
- Over-steamed white rice
- With soft phulkas or rotis
- A spoon of extra ghee on top
- With papad and mango pickle
Sometimes, the simplest plate is the most satisfying
Pro Tips from Indian Kitchens
- Don’t burn the garlic in the tadka — it turns bitter quickly.
- Add salt only after the dal is cooked for a better texture.
- For richer flavour, use homemade desi ghee.
- If reheating, always add a splash of water.
- For a lighter version, reduce the ghee slightly.
Once you’re comfortable with the basic version, you can experiment:
Variations You Can Try
- Tomato Moong Dal: Add chopped tomatoes while cooking.
- Palak Moong Dal: Stir in finely chopped spinach
- Moong Dal Khichdi: Cook with rice and vegetables
- Lemon Dal: Add a squeeze of lemon before serving
Each version keeps the comfort intact — just with a twist
- Refrigerate in an airtight container for up to 3 days
- It thickens over time — add water before reheating
- Warm gently on low heat
- Dal often tastes even better the next day
The unremarkable yellow moong dal still provides soothing warmth through its spoonfuls. The dish serves as a homecoming meal, which provides gentle nourishment while showing that excellent food requires simplicity. Rice with dal and a small amount of ghee serves as the only essential meal.
F & Q
Q. Is yellow moong dal excellent for digestion?
Yes, it’s one of the simplest dals to digest and is often encouraged at some stage in illness.
Q. Am I able to make it without a strainer?
certainly. Simmer in a protected pot for 25–30 minutes until smooth.
Q. Why is my dal watery?
You may have delivered an excessive amount of water. permit it to simmer uncovered to thicken.
Q. Am I able to bypass garlic?
yes. Many conventional versions use the most effective cumin and hing.
Q. Is moong dal healthful for weight reduction?
Yes, it’s high in protein and coffee in fat, whilst made with minimum ghee.