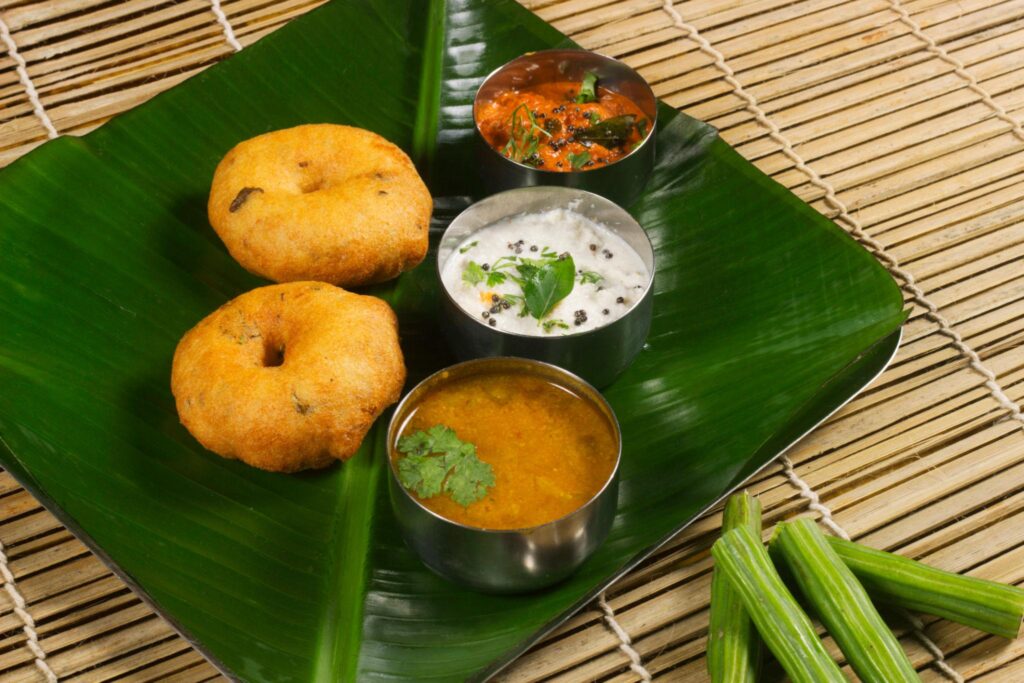
South Indian dishes reach their maximum comfort and satisfaction level through Medu Vada. These golden doughnut-shaped fritters have a crispy outer layer and soft, fluffy centre. Medu Vada serves as a popular breakfast dish and evening snack option, and a traditional meal accompaniment throughout India
South Indian homes and restaurants use this dish as a common food, which people typically eat with hot sambar and fresh coconut chutney. The good news is that you can easily prepare crispy Medu Vada at home with simple ingredients and the right technique. We will demonstrate the cooking process of this traditional South Indian snack through a detailed step-by-step guide
What is Medu Vada?
The traditional South Indian snack Medu Vada consists of deep-fried food prepared from urad dal, which is split black gram. The word “Medu” means soft in Kannada, and the name perfectly describes the inside texture of the vada. The frying process creates a golden crisp exterior while the inner part of the food maintains its soft and airy texture. The combination of different texture elements creates the delicious taste of Medu Vada. Medu Vada is commonly included in South Indian breakfast meals, which feature the following combinations:
- Idli and Vada
- Masala Dosa with Vada
- Vada Sambar
Its mild spice and crispy bite make it a crowd favourite.
Ingredients Required for Medu Vada
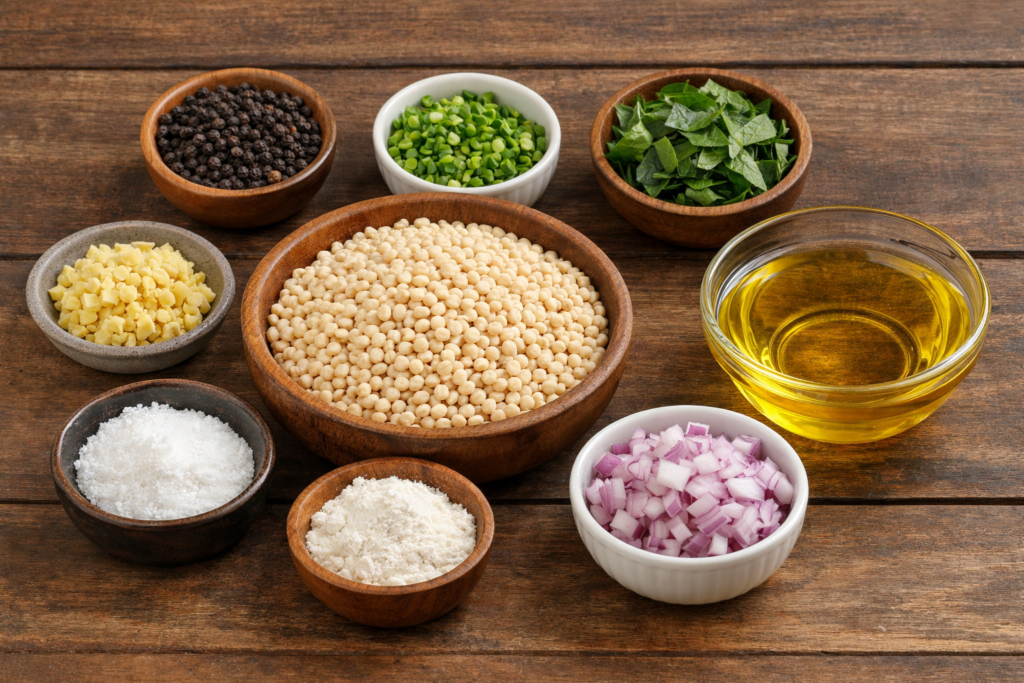
To prepare Medu Vada at home, you only need a handful of ingredients.
- 1 cup urad dal (split black gram)
- 1–2 green chillies, finely chopped
- 1 teaspoon finely chopped ginger
- 1 tablespoon chopped curry leaves
- 1 teaspoon whole black pepper (optional)
- 2 tablespoons finely chopped onion (optional)
- 1 tablespoon rice flour (optional for extra crispiness)
- Salt to taste
- Oil for deep frying
These ingredients come together to create the signature flavour of South Indian Medu Vada.
Best Method to Prepare Medu Vada
Follow these simple steps to make crispy Medu Vada at home.
Soak the Dal
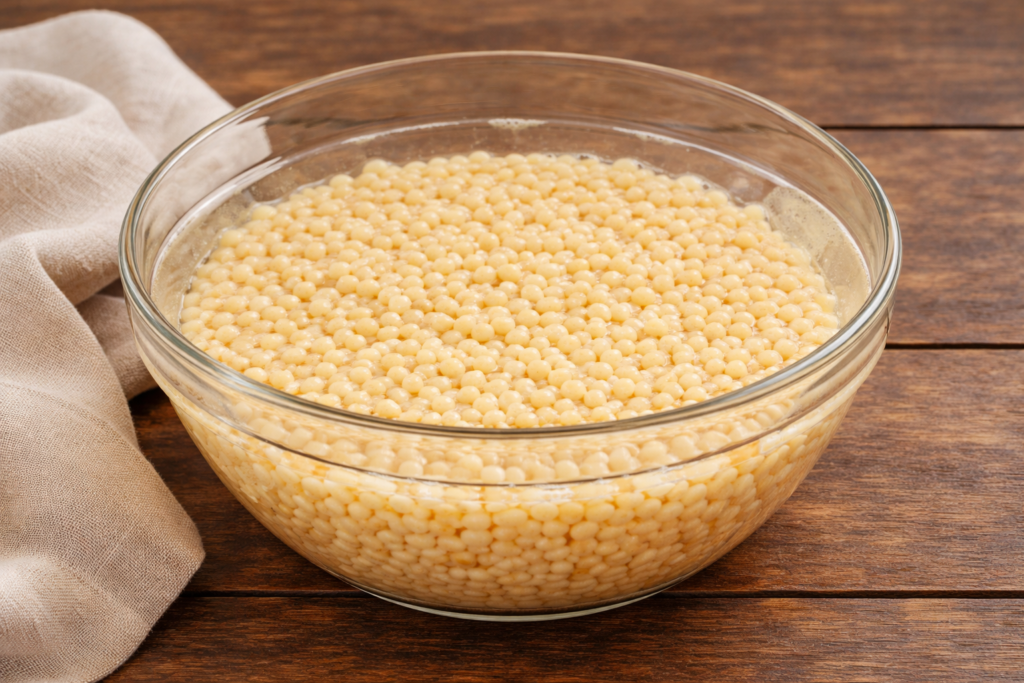
You should clean the urad dal by washing it and then leave it to soak in water for a duration of 4 to 5 hours. The dal becomes softer through this process, which enables easier grinding
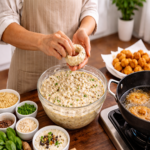
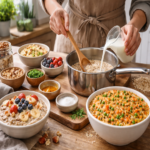
Grind the Batter
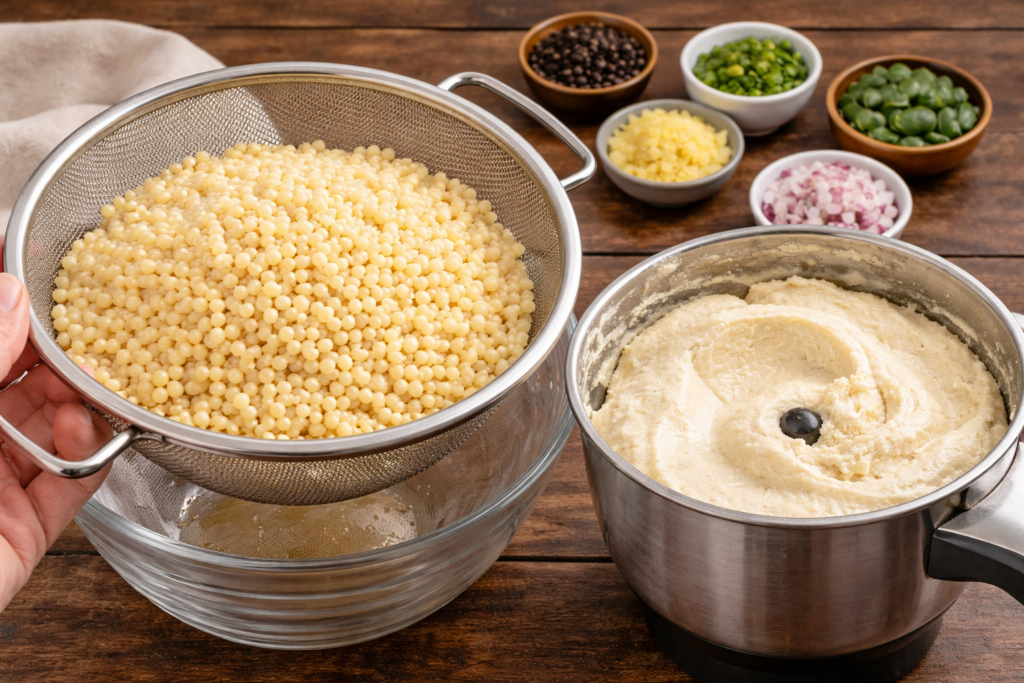
You need to drain the soaked dal before you start grinding it with a mixer or grinder. The batter needs to have a smooth texture and thick consistency while maintaining a fluffy appearance
Add Spices and Flavours
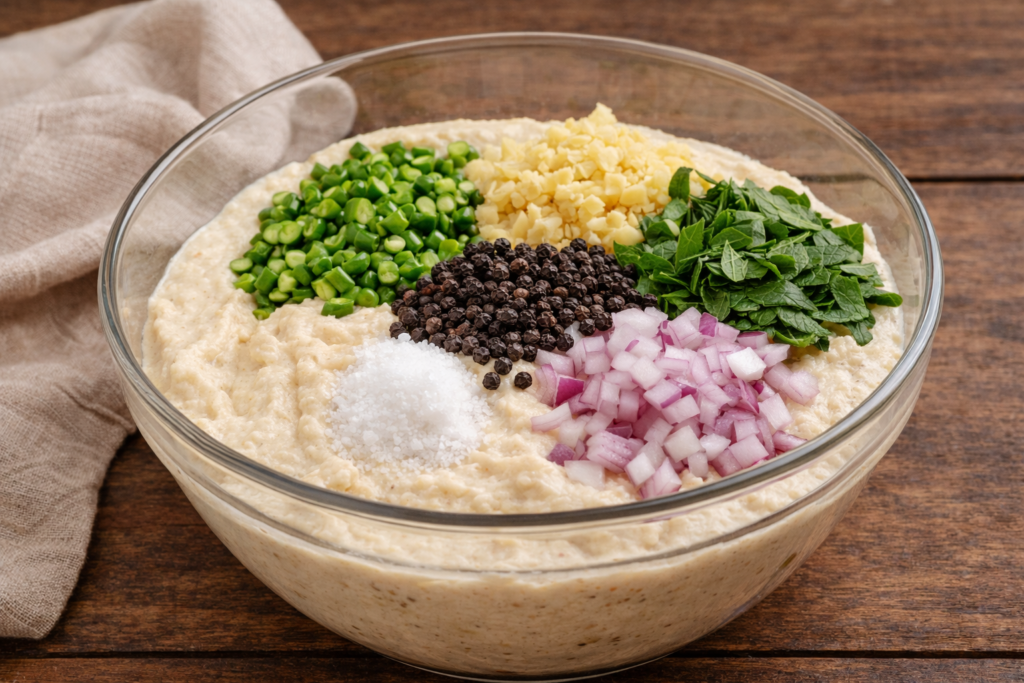
Transfer the batter to a bowl and add:
- chopped green chillies
- ginger
- curry leaves
- black pepper
- onions (optional)
- salt
Beat the Batter
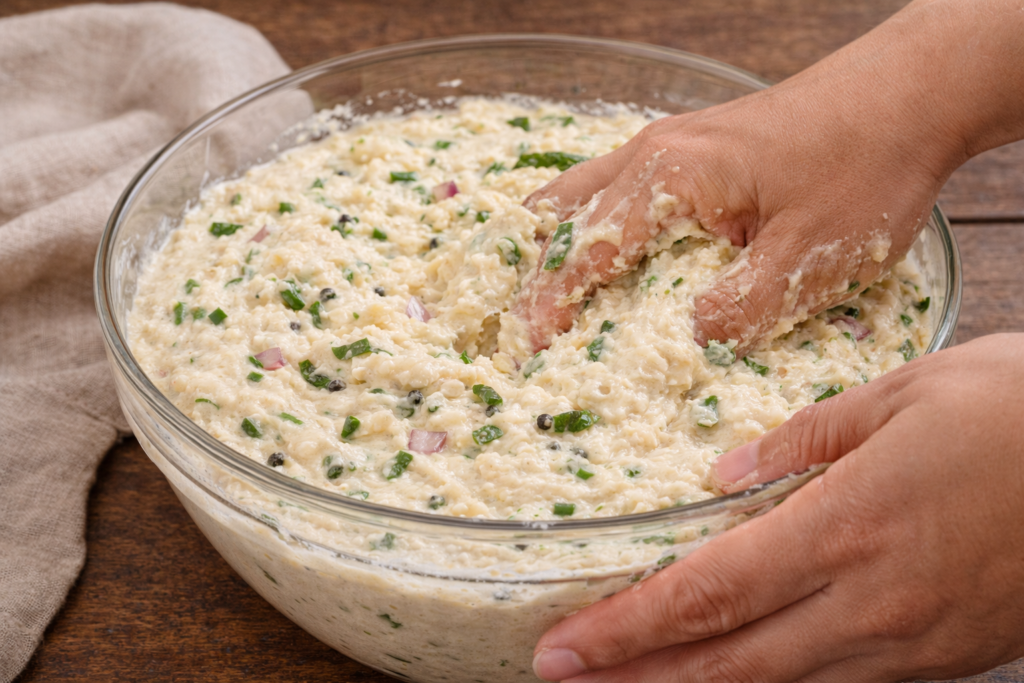
You should mix the batter using your hands for several minutes. The process introduces air into the vada batter, which results in a light and fluffy texture
Heat the Oil
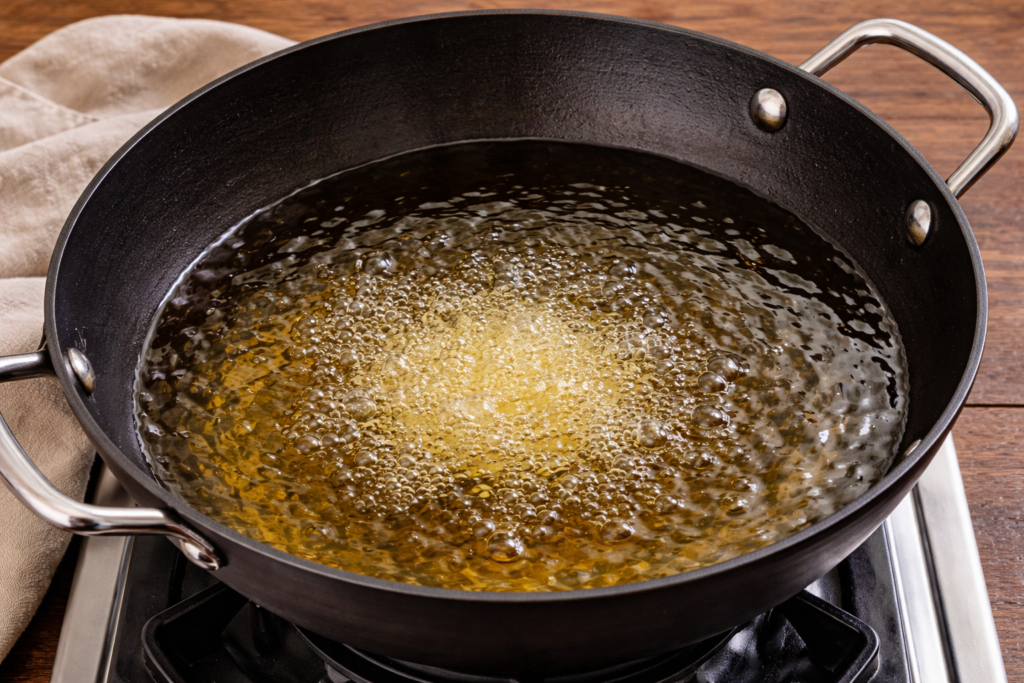
Heat oil in a deep frying pan on medium flame.
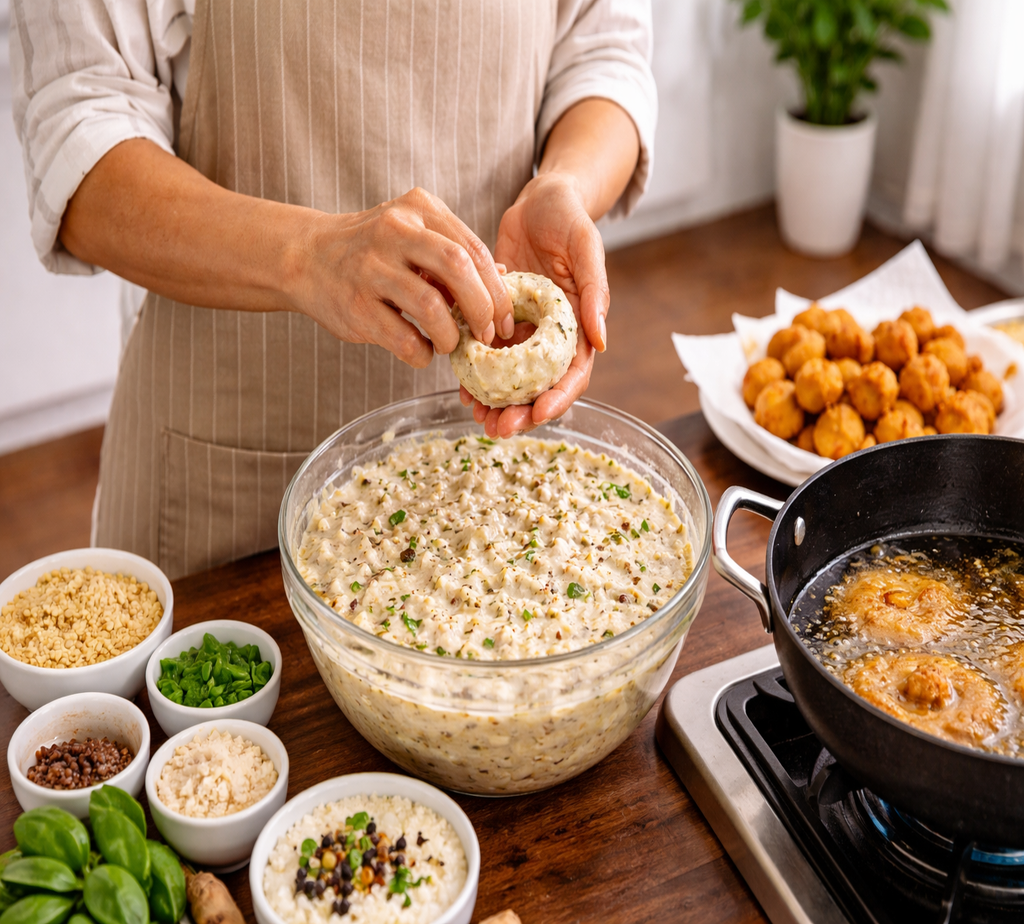
Shape the Vadas
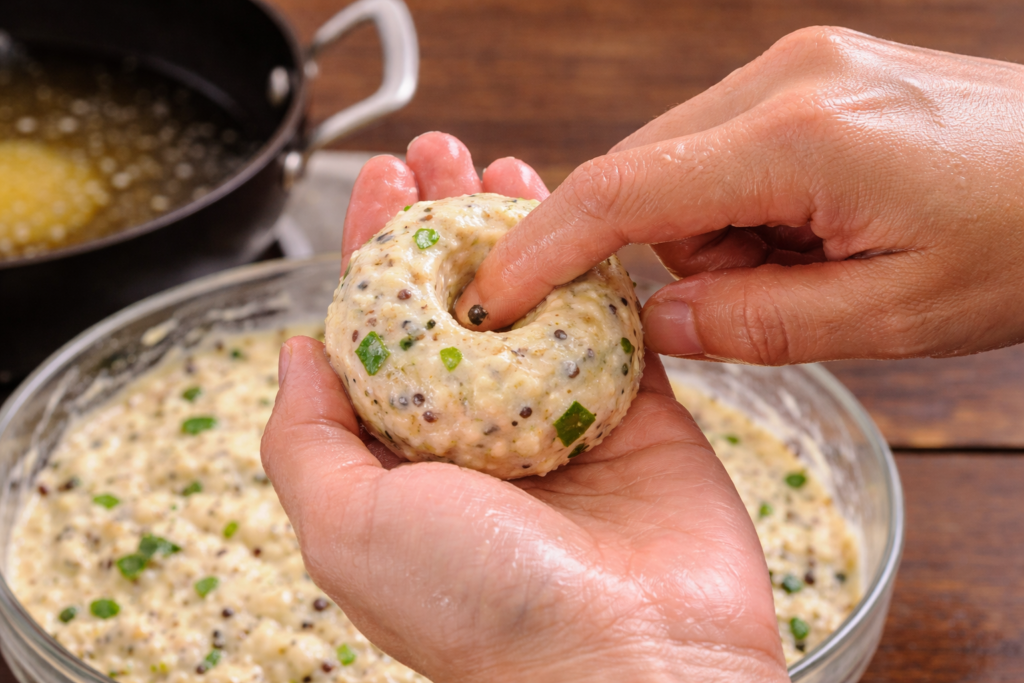
Wet your hands with water. Take a small portion of batter, shape it into a ball, and gently make a hole in the centre to form the traditional vada shape
Fry Until Golden
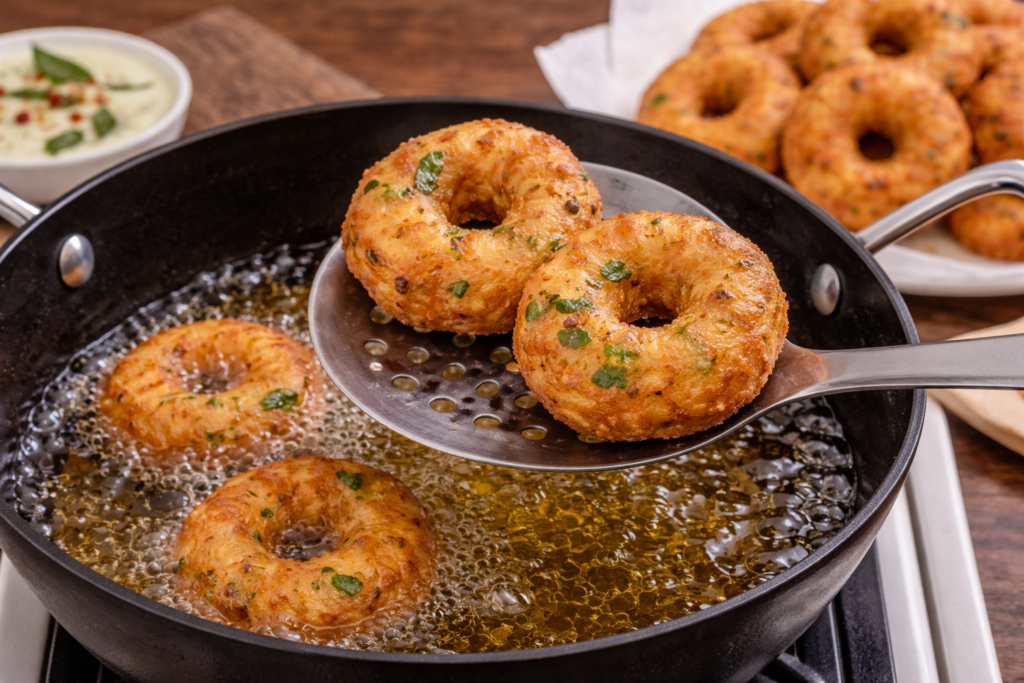
You should slide the shaped vada into hot oil. The food needs to be cooked until both sides reach a golden brown colour and become crispy
The food should be taken out of the cooking process and placed on a paper towel for drainage. Your homemade Medu Vada, which is crispy textured, has reached its serving time
Tips to Make Perfect Crispy Medu Vada
Making the perfect Medu Vada becomes easy with a few simple tips.
- The batter needs to be ground until it reaches a thick consistency without adding excessive water.
- The batter should be beaten until it becomes light and airy.
- The vadas should be fried at a medium temperature to achieve proper cooking results.
- People should wet their hands before shaping because it stops their hands from sticking.
- The recipe requires one spoon of rice flour to achieve better crispiness.
- These small tricks can make a big difference in the final result.
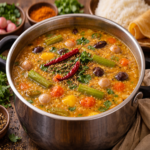
Medu Vada with Coconut Chutney
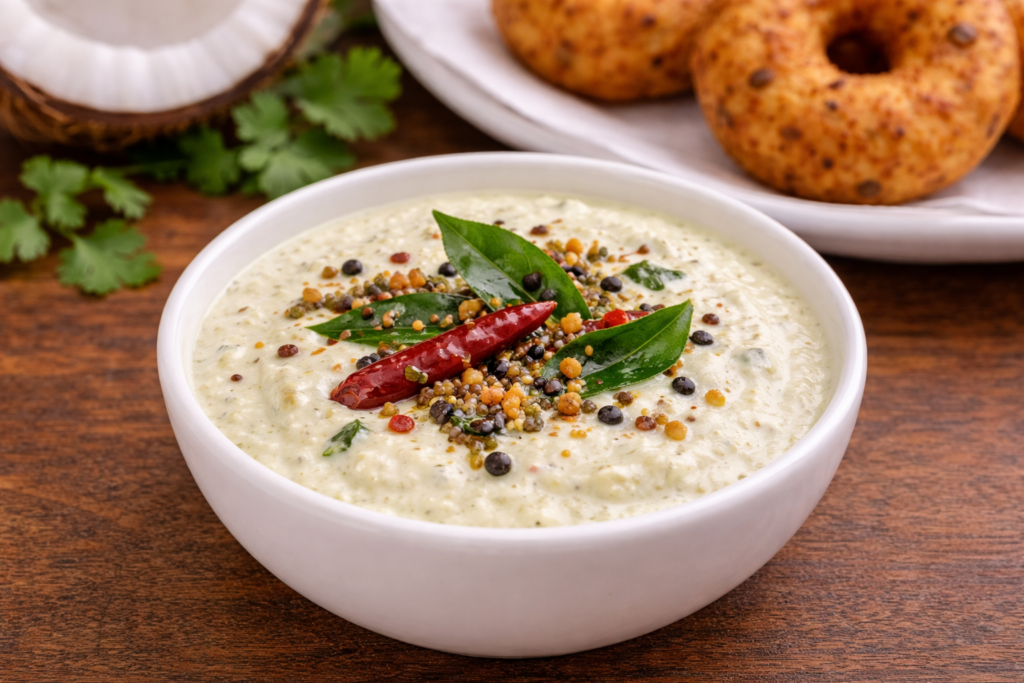
Fresh coconut chutney adds a creamy and refreshing flavour that balances the crispiness of the vada
Curd Vada (Dahi Vada Style)
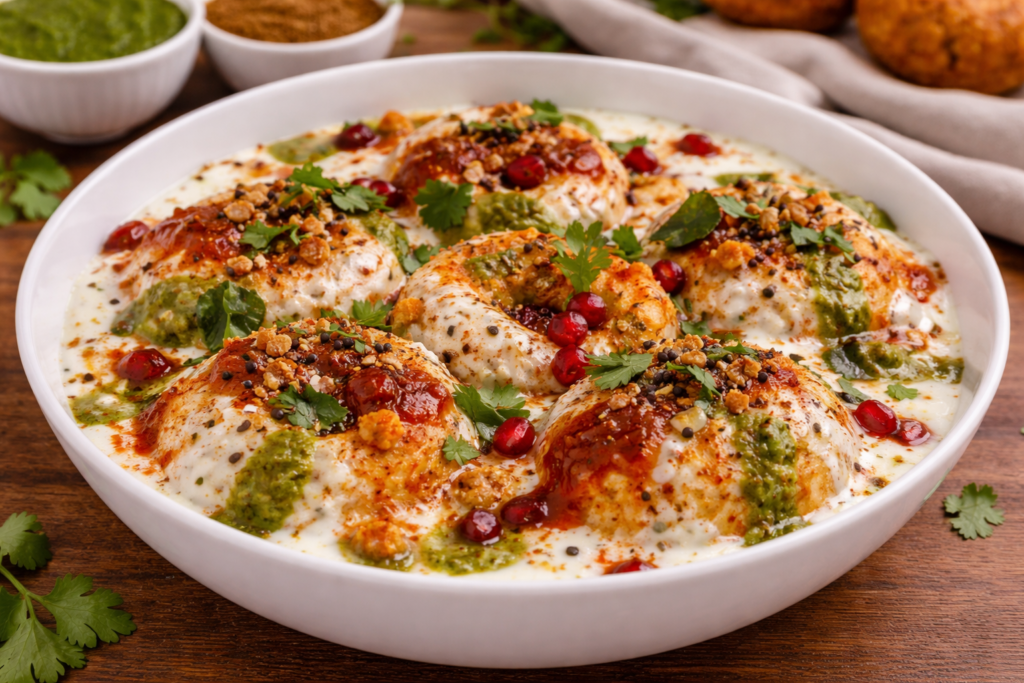
Serve soaked vadas in seasoned yoghurt and top them with chutneys and spices for a cooling dish
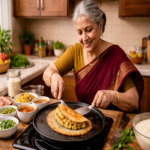
How Medu Vada Complements Masala Dosa
Many South Indian restaurants serve Masala Dosa and Medu Vada as their breakfast combination. The combination of the crispy dosa filled with spiced potato masala and the warm vada with sambar creates the perfect match.
Quick Overview of Masala Dosa Preparation
Masala dosa is prepared using:
- The combination of fermented rice and lentil batter creates a traditional dish
- Prepares the thin dosa by cooking it on a hot tawa
- The dish contains spiced potato filling, which is located inside the food item
- Together with chutney and sambar, it creates a satisfying meal
Common Mistakes to Avoid
While making Medu Vada, beginners often face a few common issues.
Avoid these mistakes:
- Excessive water addition during batter grinding results in improper grinding.
- Oil temperature must remain between two specific points for proper frying.
- The frying pan reaches its maximum capacity when too many items are placed inside it.
- The batter requires more beating time because its current state needs additional mixing.
- Fixing these small errors helps achieve perfectly crispy vadas.
Why Homemade Medu Vada Tastes Better
Preparing Medu Vada at home has several advantages.
- You have the ability to select when ingredients will be at their best state.
- The frying oil has better purity than other cooking oils.
- You can select how much spice should be used based on your personal preferences.
- Homemade food always provides a stronger sense of comfort than any other kind of food
With a little practice, your homemade vadas can taste just as good as those served in restaurants.
Conclusion
Whipping up Medu Vada at home is simpler than it seems—just picture the batter sizzling as those golden rings take shape in hot oil. Get the batter just thick enough to coat a spoon, fry each round until it turns golden and crisp, and you’ll have perfectly crunchy South Indian vadas whenever you want. Serve them piping hot with sambar and a spoonful of chutney, and you’ve got a classic that always wins people over.
F & Q
Q.Why aren’t my medu vadas turning out crisp, the way they should crackle when you bite in? This usually happens when the batter turns runny, like it’s sliding off the spoon instead of clinging to it. Be sure the batter’s thick and airy, like it could hold a swirl from your spoon.
Q.Can I keep Medu Vada batter in the fridge overnight without ruining its light, airy texture?
Yes, you can keep the batter in the fridge for a few hours, but the one you whip up fresh—smooth and light—always makes the fluffiest texture.
Q. What ingredients bring out the rich, savoury flavour of Medu Vada—maybe a hint of ginger or a few curry leaves sizzling in the batter?
A pinch of black pepper, a few cumin seeds, some ginger, and a handful of curry leaves can lift the flavour and make the dish come alive.