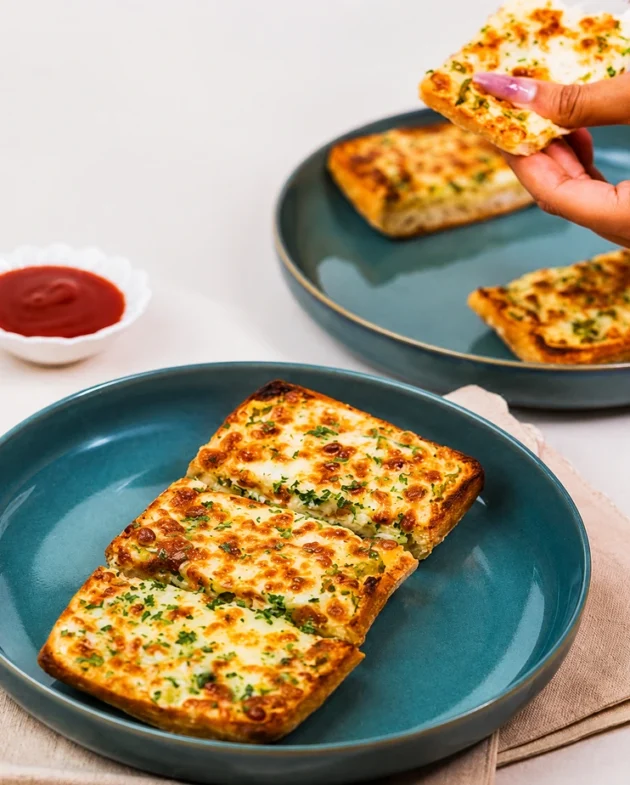

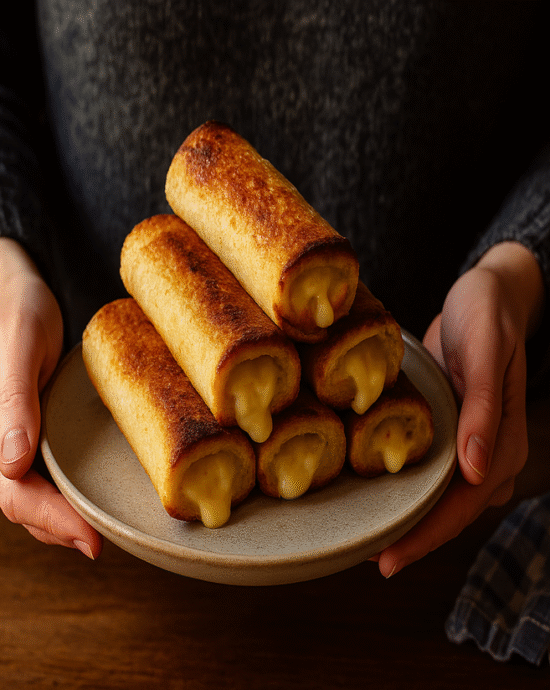

Few dishes exemplify the quiet heart of New Zealand home-cooking as the quintessential cheese roll. Perhaps to the uninitiated, a slice of bread rolled around some melted cheese may not seem remarkable; to South Islanders, particularly Southland and Otago, it means so much more.
For many Kiwis, cheese rolls evoke nostalgia, a taste of school fundraisers, church socials, and Grandma’s warm kitchen. They are the sort of food that appears just when needed: golden, oozy, and simply comforting
The term “Southern sushi” has been bestowed upon this food, taking the most humble of ingredients and turning them into something quietly sublime. Shared at a rugby halftime or on a cold, blustery afternoon in Dunedin, cheese rolls remind you that sometimes the simplest food provides the greatest comfort.
A Little Backstory
They call them cheese rolls, and if anyone lived in Hampshire in the 1950s and earlier, they were as familiar as they are to any rural woman today. They are the type of thing you will not read about in well-formatted food mags; however, ask any Southlander, and they will tell you that these rolls are legendary
They’ve even become a bit of a local identity badge. There’s pride in how you make them — what cheese you use, whether you toast or bake, if you spread the butter before or after. Families have their way, and you don’t mess with it.
Ingredients
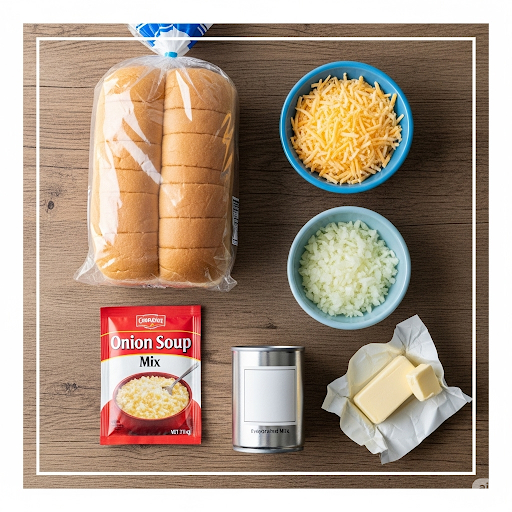
- 1 loaf of soft white sandwich bread (crusts optional)
- 1 ½ cups grated tasty cheese (cheddar works great)
- 1 small onion, finely grated or blitzed
- 1 packet Maggi onion soup mix
- ½ cup evaporated milk
- Butter or margarine, for spreading
Substitutes:
- No evaporated milk? You can use regular milk, but the filling won’t be quite as creamy
- Feel like a twist? Add some mustard powder or some Worcestershire sauce to the filling
- Can’t find onion soup mix? Use caramelised onion and a bit of salt — it won’t be traditional, but it’ll still taste amazing.
Instructions
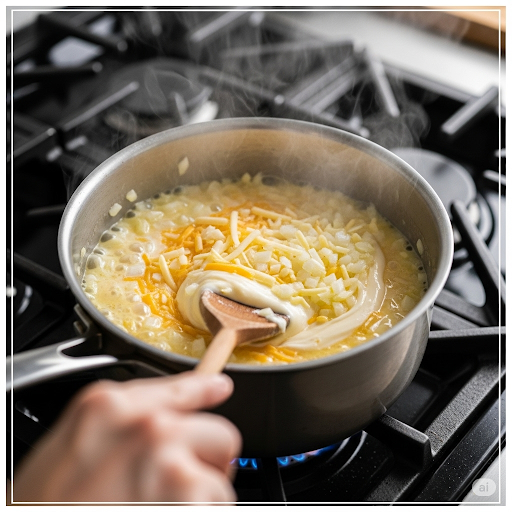
Step 1: Add your grated cheese, onion, soup mix, and evaporated milk on low heat on your saucepan and mix that up. Keep stirring until it all comes together into a gooey, spreadable consistency. Not to boil it, but to warm it

Step 2: Lay bread slices out. Some people swear by cutting off the crusts, if it bothers you. Also, do not hesitate to roll them slightly with a rolling pin, should you want to have a tighter roll
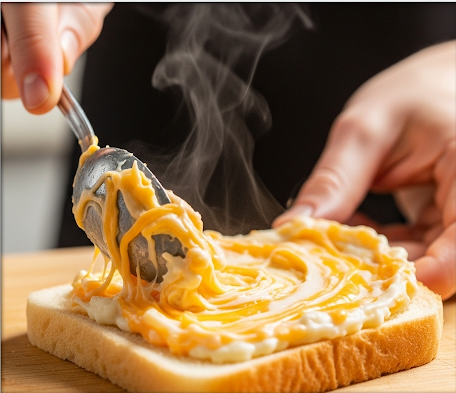
Step 3: Take a spoonful of your warm cheese mixture and spread it on one side of one slice, then repeat the procedure on the other half of the slices. It is not too thick and not too thin; you will get used to it
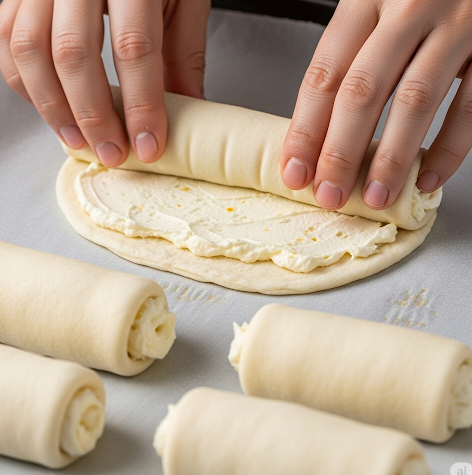
Step 4: Roll them into compact little rolls. Place them seam-side down on a baking/ sheet pan (parchment/foil)
Just brush the tops lightly with melted butter, or just put a little softened butter on each roll
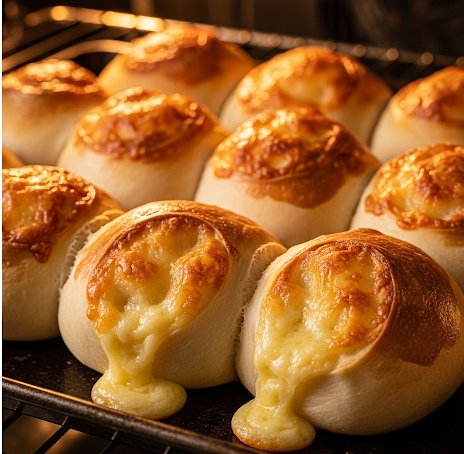
Step 4: Move to the hot oven and bake at 180 (350°F) for 10- 12 minutes to turn golden brown on the surface to make them a little crispy
Want that crunchy top? Pop them under the grill (broiler) for a couple of minutes instead — just keep an eye on them!
When to Make These?
- Rainy days: Especially when you’re curled up in a blanket watching footy
- After-school snacks: They’re a classic for a reason
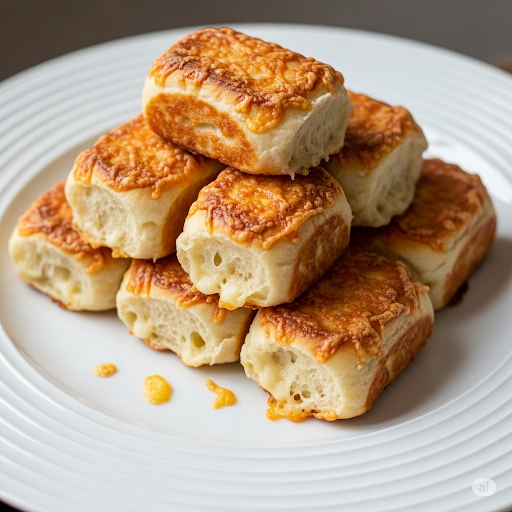
- Party platters or potlucks: Cut them in half for bite-sized comfort food
- Soup sidekick: tomato soup + cheese rolls = childhood in a bowl and a roll
Advice and Things Not to Do
- Overfilling is a bad idea since the cheese will flow out and create a mess in your oven
- It is better to use soft bread – stale or firm one will not roll out and may crack
- When the filling is too stiff, warm it a little and spread; it is much more easily spread
Well, and come to think of it, don’t skip the butter on top, as that is where the fabulous golden glow and the crunchy bite come in.
Anjali Raj Singh
I am a food writer and culinary content creator specializing in global cuisines, traditional recipes, food culture, and cooking techniques. Through extensive research and hands-on recipe analysis, I create accurate, informative, and engaging content that helps readers explore authentic dishes from around the world. My work covers recipe development, food history, ingredient guides, restaurant features, and culture-driven culinary stories.
At Foods Around the World, I focus on delivering well-researched, reader-friendly, and SEO-optimized content that reflects the traditions, flavors, and culinary heritage behind each dish. Every article is carefully reviewed for accuracy and relevance, ensuring readers can discover trusted recipes, cooking insights, and food experiences from diverse cultures worldwide.